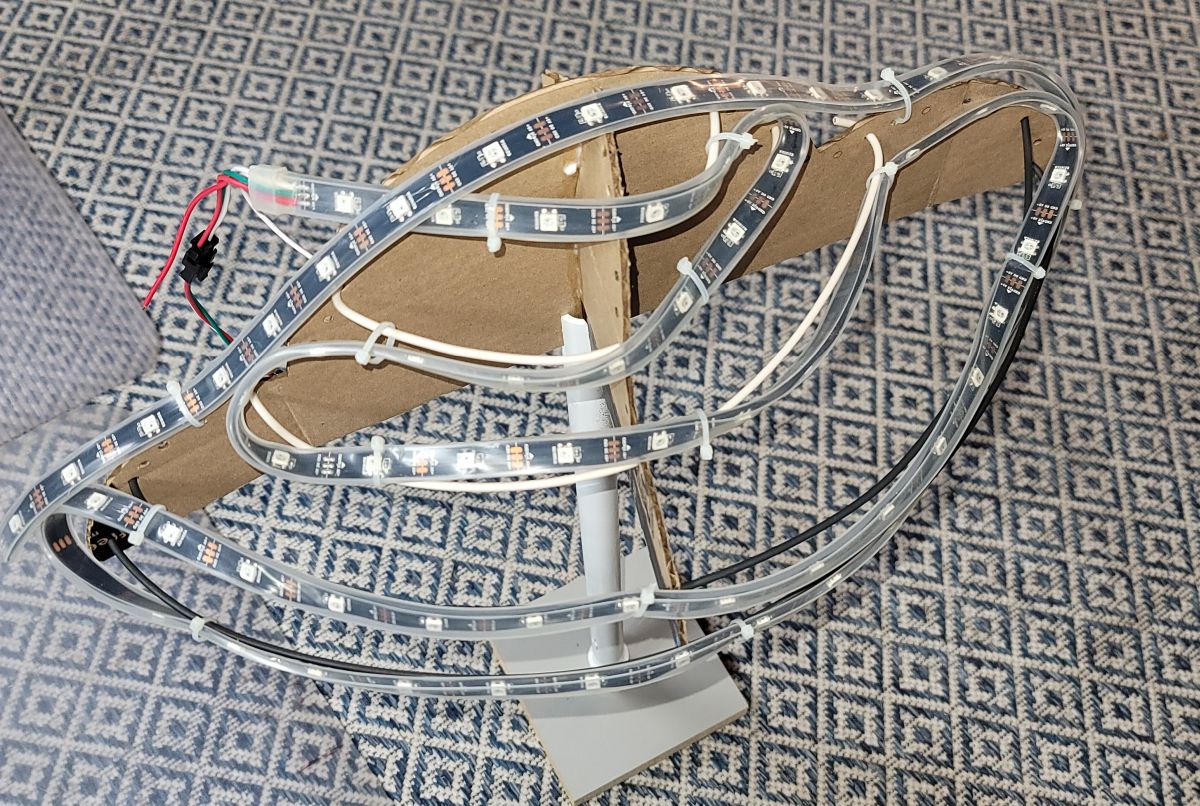
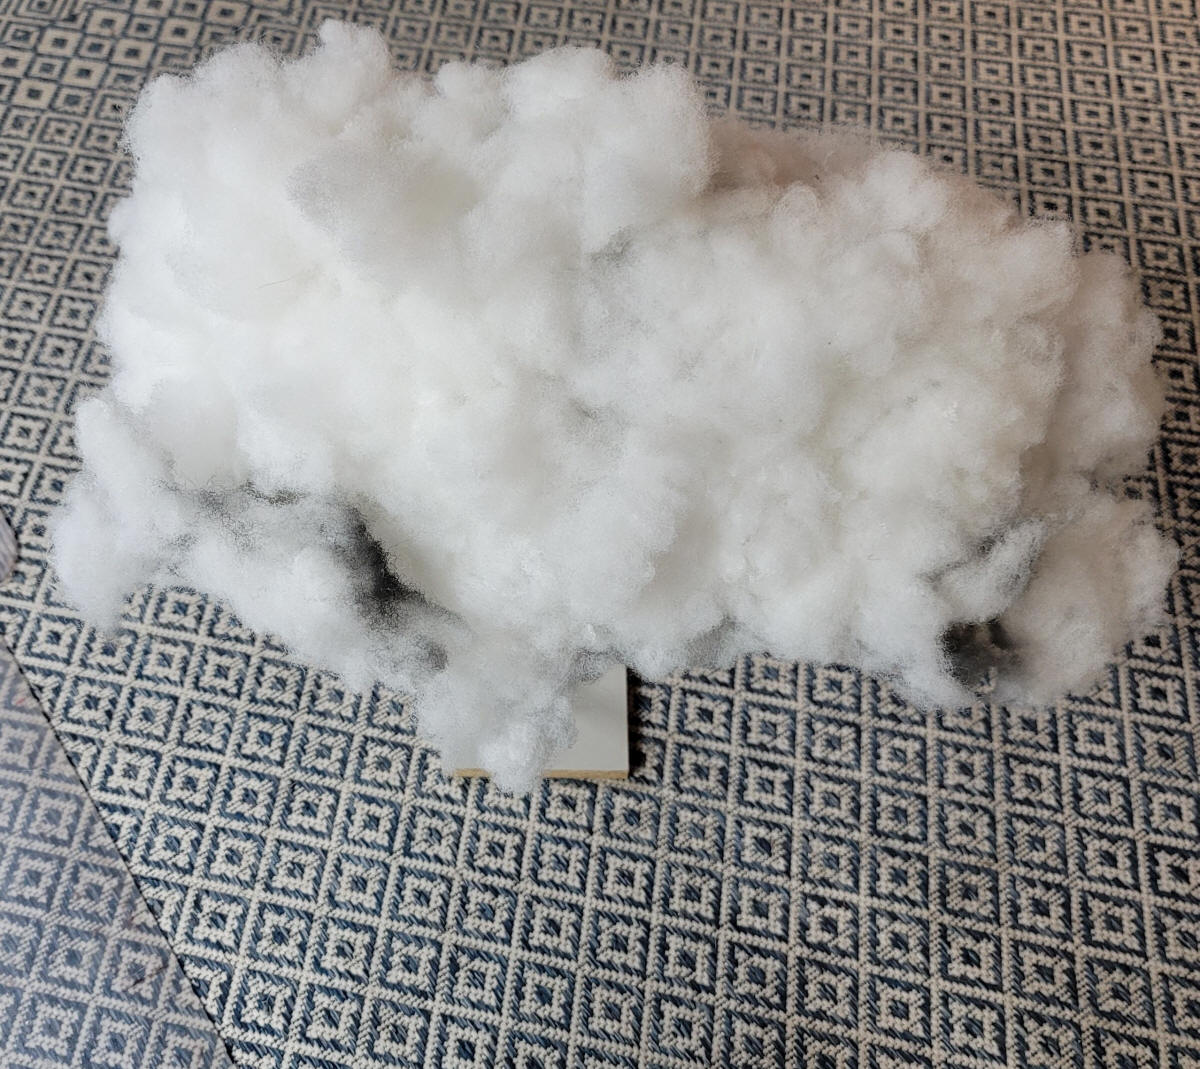
| Introduction While the single very bright LED that I have used with the Thunder & Lightning Animation works very well I thought it would be worth experimenting with LED strip lights. These LEDs can be found under the name WS2812B or NeoPixel and can be ordered from Amazon and other sources. The WS2812B LEDs that I used here are on a 1 meter long strip that contains 144 RGB LEDs that can be individually addressed and lighted in literally millions of colors. The original Thunder & Lightning code was easily modified to have the number of LEDs that light in the strip be proportional to the volume of the sound coming from the MP3 player. A low sound will only light a dozen or so LEDs while a loud thunder clap can light 100 or more LEDs. In addition the colors of the LEDs can be more than just white. I randomly insert a few blue colors along with the white. If the strip of LEDs is placed within cotton batting simulating a cloud you will see the flash propagate from one side of the cloud to the other.
|
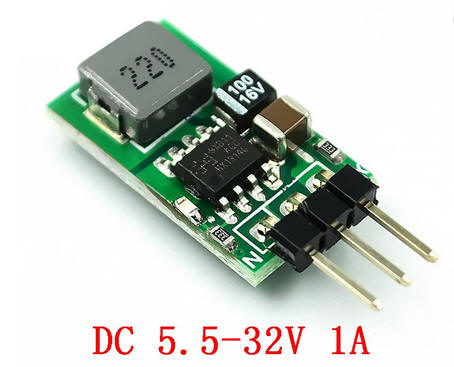
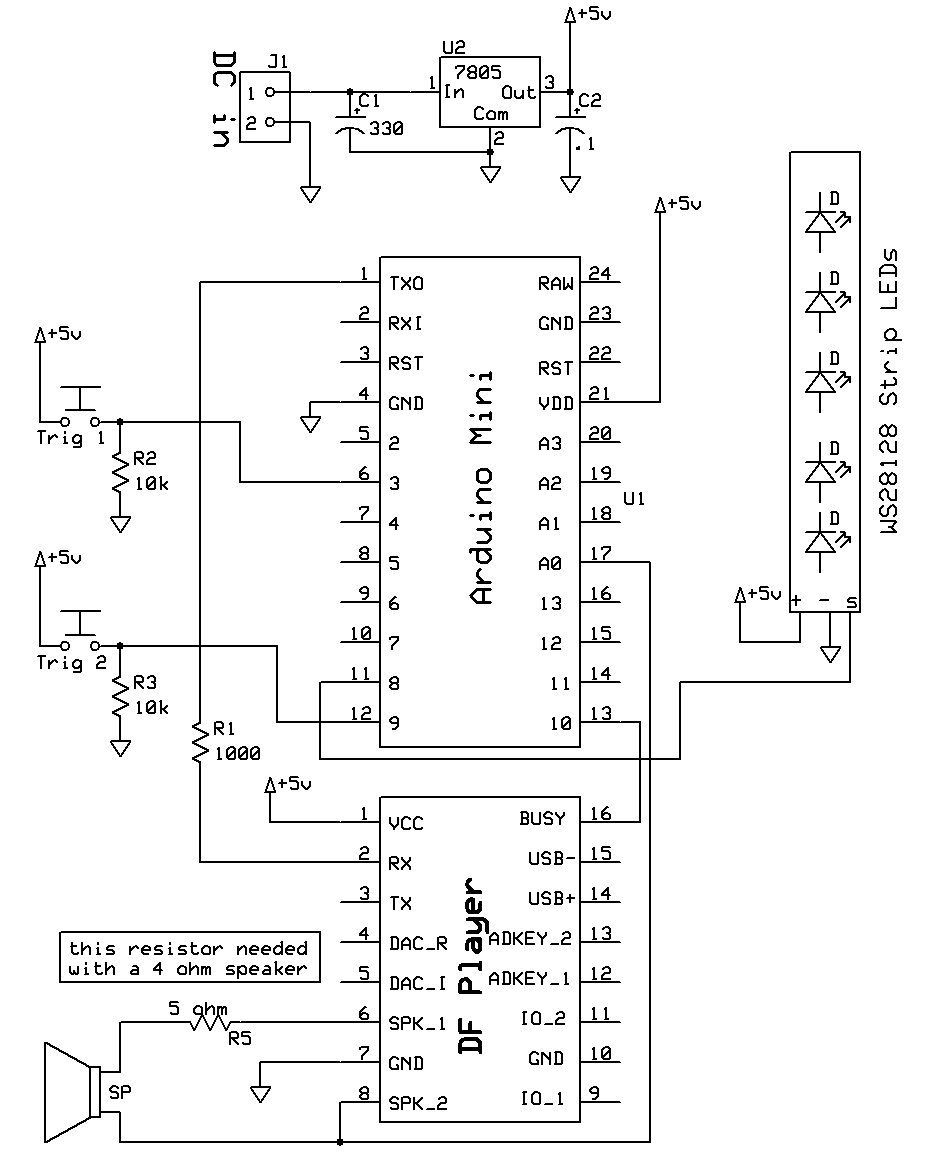
| Powering the Circuit The LEDs have the potential to draw quite a bit of power and should not be powered from the 5v pins on the Arduino but directly from the 7508 or an external 5 volt power source that can supply at least one amp. I find that a 7805 can get really hot if its input voltage is much over 7 volts so I frequently substitute a buck converter from Aliexpress - This device is a direct pin-for-pin replacement for the 7805 voltage regulator.
|
| The Circuit Only one data pin goes from the Arduino to the LED strip. In addition there is a ground and 5 volt connection - on my strip lights the white wire was ground, the red wire was for 5 volts and the green wire was for data. Yours could vary. The button connected to pin 3 on the Arduino is used to start the sound & light. A second button attaches to pin 9 and is not currently used. |
 |
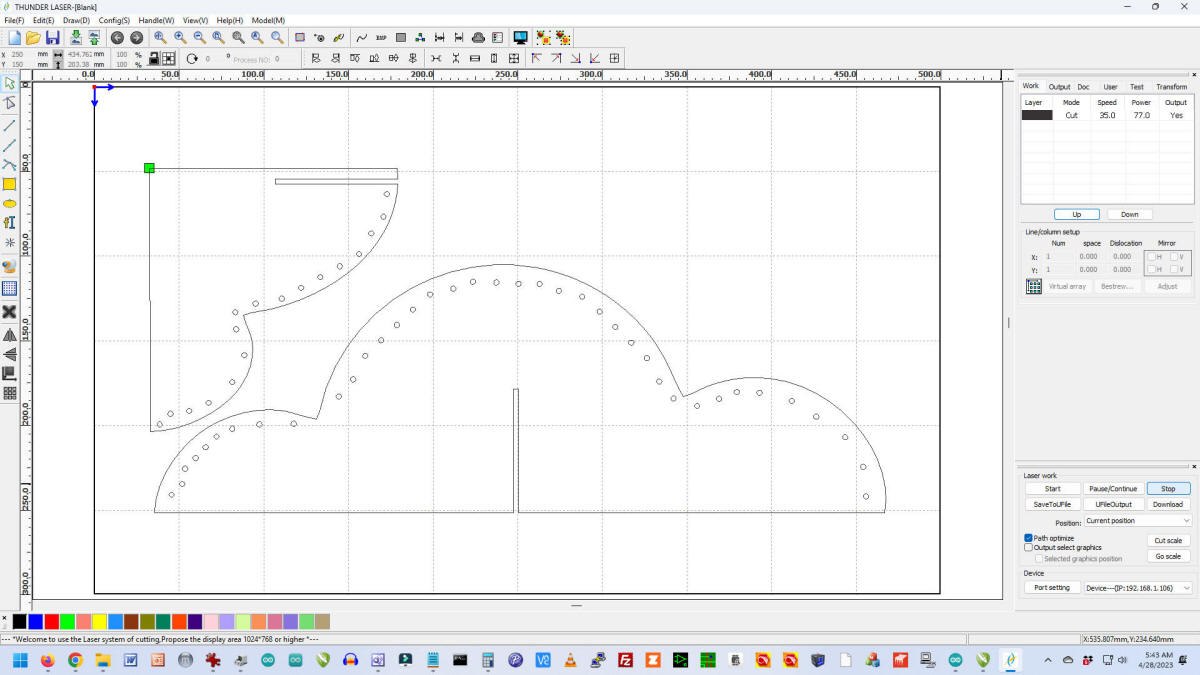
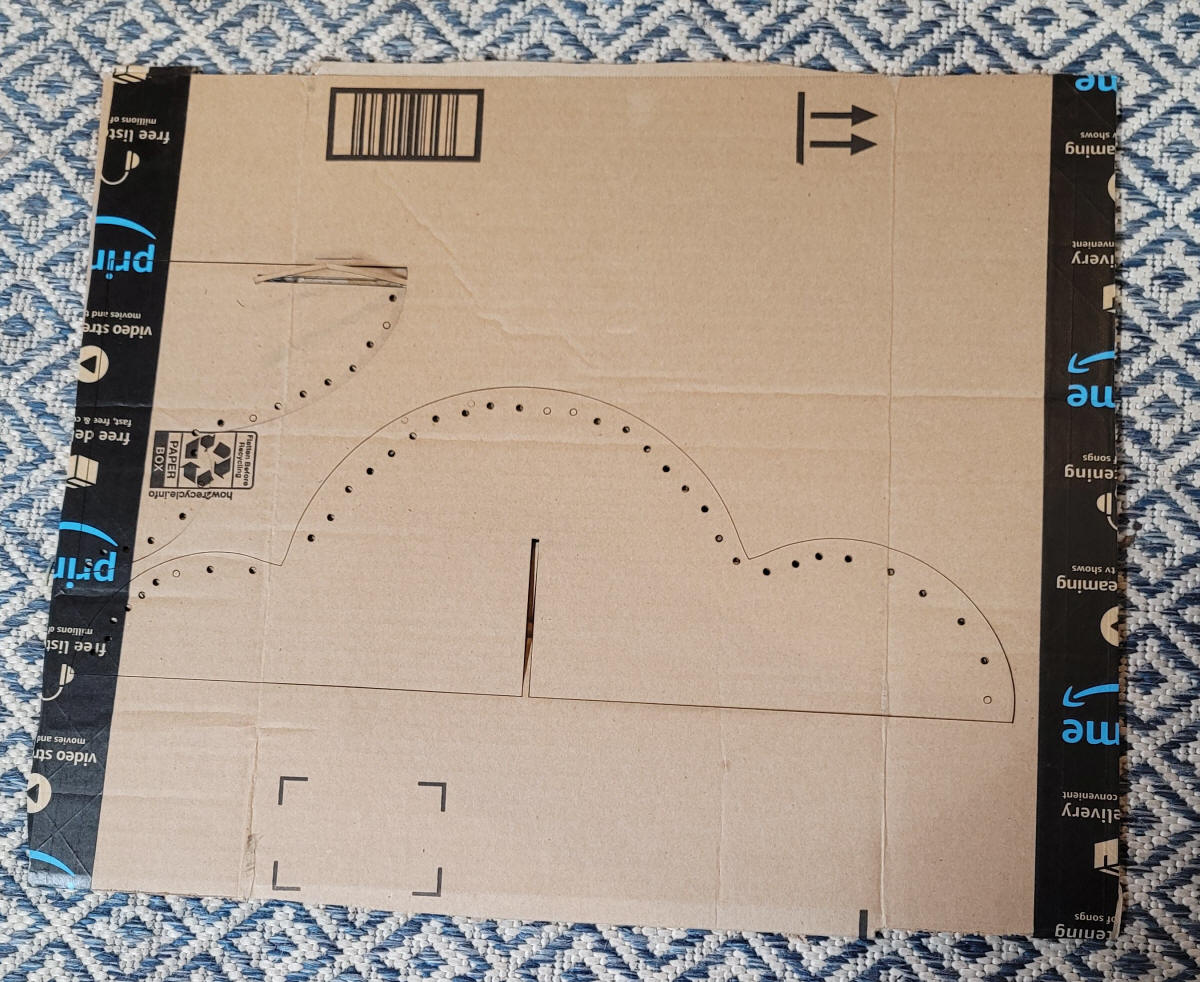
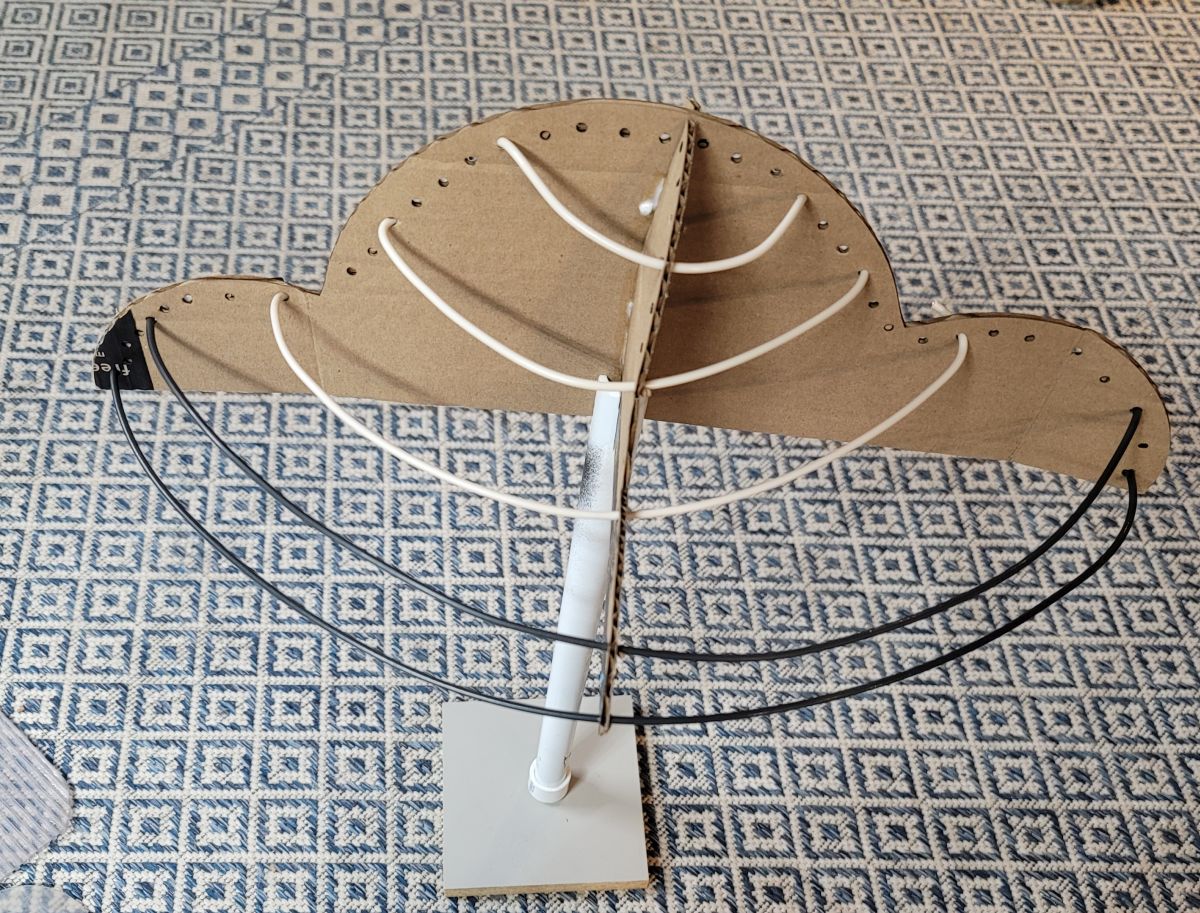
| Creating the Cloud I cut the cardboard frame for the cloud using a laser cutter but it can easily be duplicated with a utility knife or a good pair of scissors
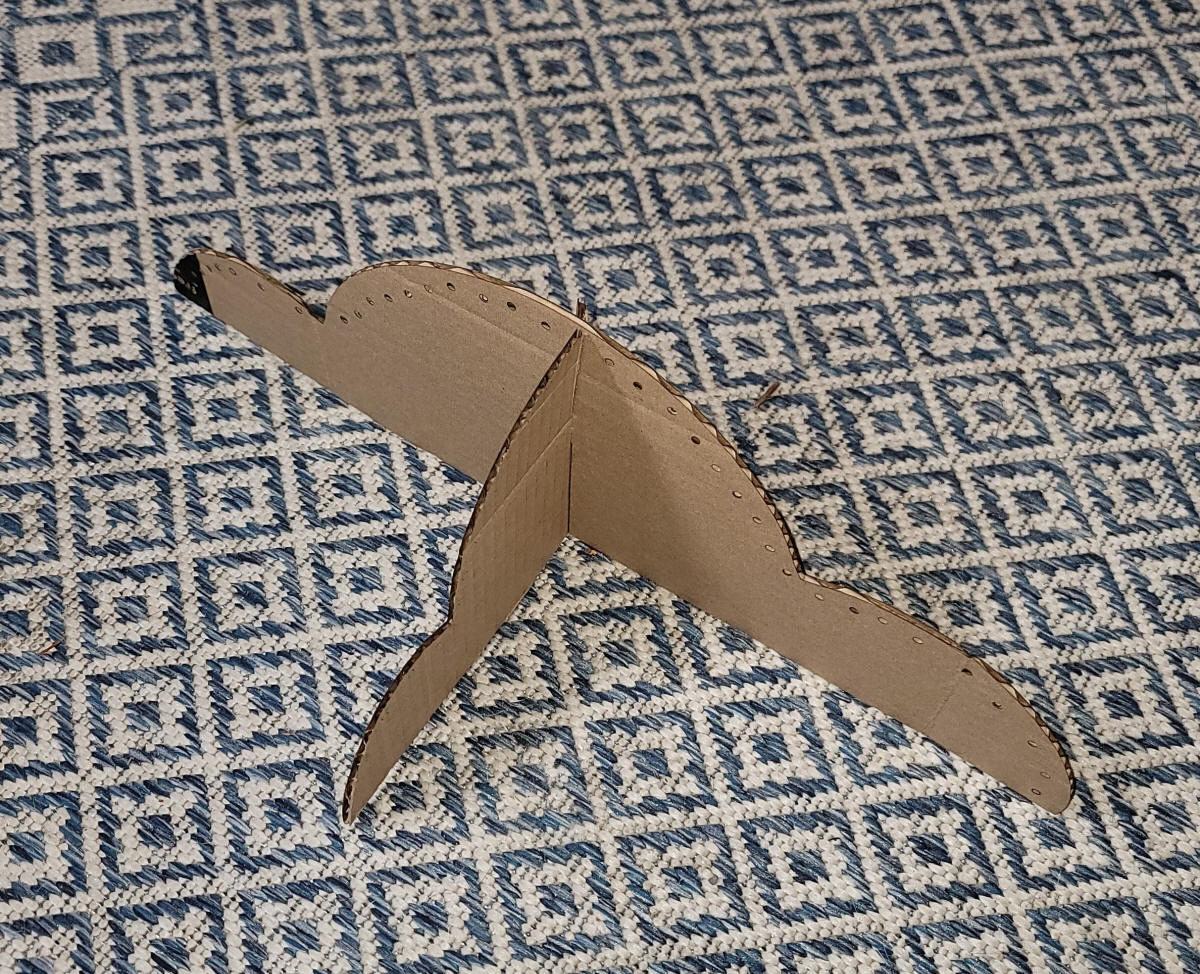
Heavy wire was used to complete the cloud
frame. The base is made from a piece of wood and plastic pipe. It was used to support the LED strips which are attached to the wire with cable ties.
The cloud itself is made from polyester fiber fill that is frequently used to stuff dog toys and pillows
Once the tufts of fiber is added I looped many strands of clear fishing line over the fiber to make sure it did not fall off. The underside was spray painted with grey and black paint.
|
CombinedScrollingLEDs-TnL-RandomV1-5
D:\shared_stuff\Dropbox\Arduino\LED-Thunder-Lightning-WS2812B\CombinedScrollingLEDs-TnL-RandomV1-5
/*
d. bodnar - 9-09-2022
Lightning & thunder for CHP castle
*/
#include <Adafruit_NeoPixel.h>
#include <TrueRandom.h> ///https://github.com/sirleech/TrueRandom
// How many internal neopixels do we have? some boards have more than one!
int Pixels = 150;
int NUMPIXELS = Pixels;
Adafruit_NeoPixel pixels(NUMPIXELS, 8, NEO_GRB + NEO_KHZ800);
int x = 0;
int howMany = 0;
#include <DFPlayer_Mini_Mp3.h>
const int buttonPin = 3; // the number of the pushbutton pin
int buttonState = 0; // variable for reading the pushbutton status
int buusyPin = 10;// buusyPin = 10; // sound player busy
int bsy = 0;
int LEDstripLight = 12; // WAS 12 IRL520 to LED strip light
int sensorPin = A0; // Audio level samples
int sensorValue = 0; // variable to store the value coming from the sensor
int buttn = 0;
int whichMP3 = 1;
//***************************************SETUP*************************************
void setup () {
#if defined(NEOPIXEL_POWER)
// If this board has a power control pin, we must set it to output and high
// in order to enable the NeoPixels. We put this in an #if defined so it can
// be reused for other boards without compilation errors
pinMode(NEOPIXEL_POWER, OUTPUT);
digitalWrite(NEOPIXEL_POWER, HIGH);
#endif
pixels.begin(); // INITIALIZE NeoPixel strip object (REQUIRED)
pixels.setBrightness(80); // not so bright -- 50 is much brighter
pixels.updateLength(5);
pinMode(buttonPin, INPUT);
pinMode(LEDstripLight, OUTPUT);
pinMode(buusyPin, INPUT);
pinMode(buttonPin, INPUT);
Serial.begin (9600);
mp3_set_serial (Serial); //set Serial for DFPlayer-mini mp3 module
mp3_set_volume (30); // must remove mp3_reset(); to get this to work
Serial.println("From Web Page");
}
//.......................................LOOP................................................
void loop () {
Serial.print("I threw a TrueRandom die and got ");
whichMP3 = TrueRandom.random(1, 7);
Serial.println(whichMP3);
//Serial.println("");
Serial.println("Waiting for Button Push VER 1.5");
do {
buttn = digitalRead(buttonPin); // pins closest to power pins
} while (buttn == 0);
Serial.println("Button Hit");
mp3_play(whichMP3);
delay(100);
do {
sensorValue = analogRead(sensorPin);
// Serial.print(sensorValue);
// Serial.print(" ");
// if (sensorValue >= 750) {
//// Serial.println("large number! ");
// digitalWrite(LEDstripLight, HIGH);
// }
// if (sensorValue <= 666) {
// digitalWrite(LEDstripLight, LOW);
// }
bsy = digitalRead(buusyPin);
// map(value, fromLow, fromHigh, toLow, toHigh)
howMany = map(sensorValue, 555, 800, 0, NUMPIXELS);
// howMany = sensorValue / 8;
pixels.updateLength(howMany);
onPixels();
delay(30); // was 50
// Serial.print(howMany); Serial.println(" Hello!");
pixels.updateLength(NUMPIXELS);
offPixels();
} while (bsy == 0); // zero when sound active
}
//...................................... END LOOP ........................................
void onPixels() {
// pixels.updateLength();
// pixels.fill(0xFFFFFF); //white
// pixels.fill(0x0000FF);// blue
// pixels.fill(0xFF0000);//red
if (random(10) <= 3 ) {
pixels.fill(0xFFFFFF);
}
else
pixels.fill(0x0000FF);
pixels.show();
}
void offPixels() {
pixels.updateLength(NUMPIXELS);
// pixels.updateLength(NUMPIXELS);
pixels.fill(0x000000); // set color to OFF
pixels.show();
}
|