| |
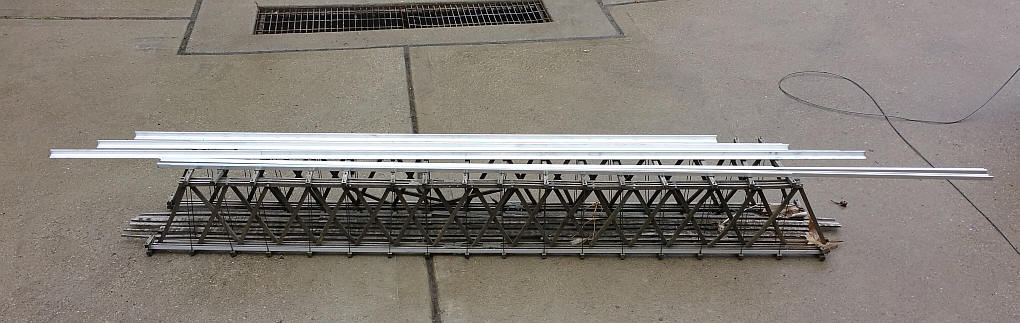
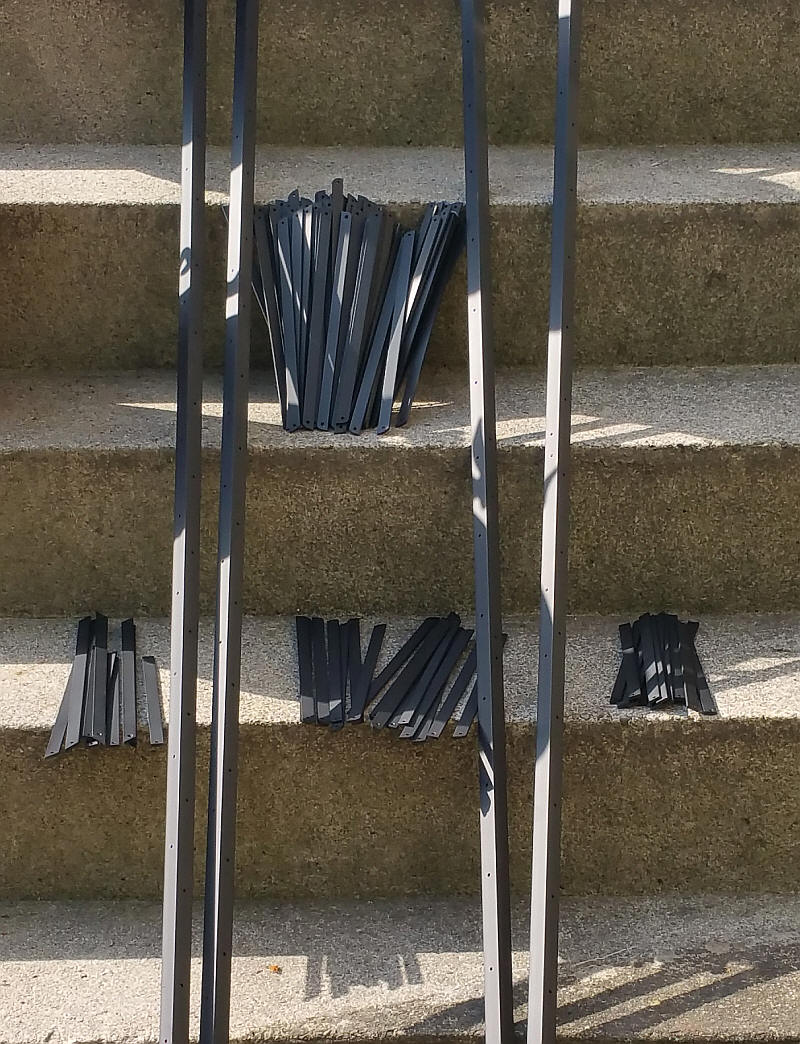
| The old bridge and the first batch of
parts are shown here.
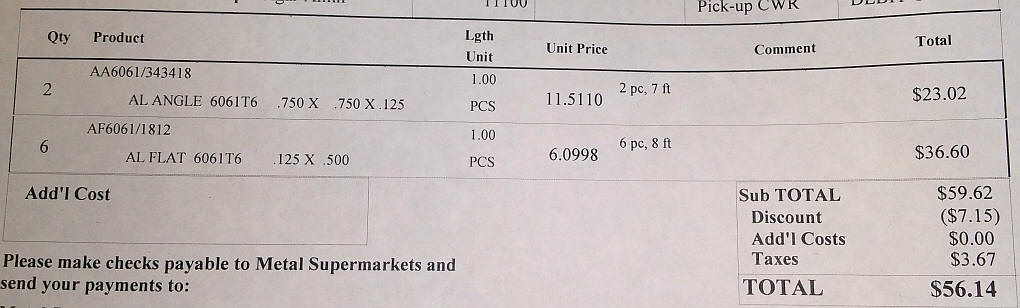
The 6061 aluminum was purchased from the
local Metal Supermarkets. The cost for 26 feet of the angle
and 72 feet of the flat stock came to a bit over $110.00 - I will
need to visit them a few more times but expect the total cost to be
below $200.00.
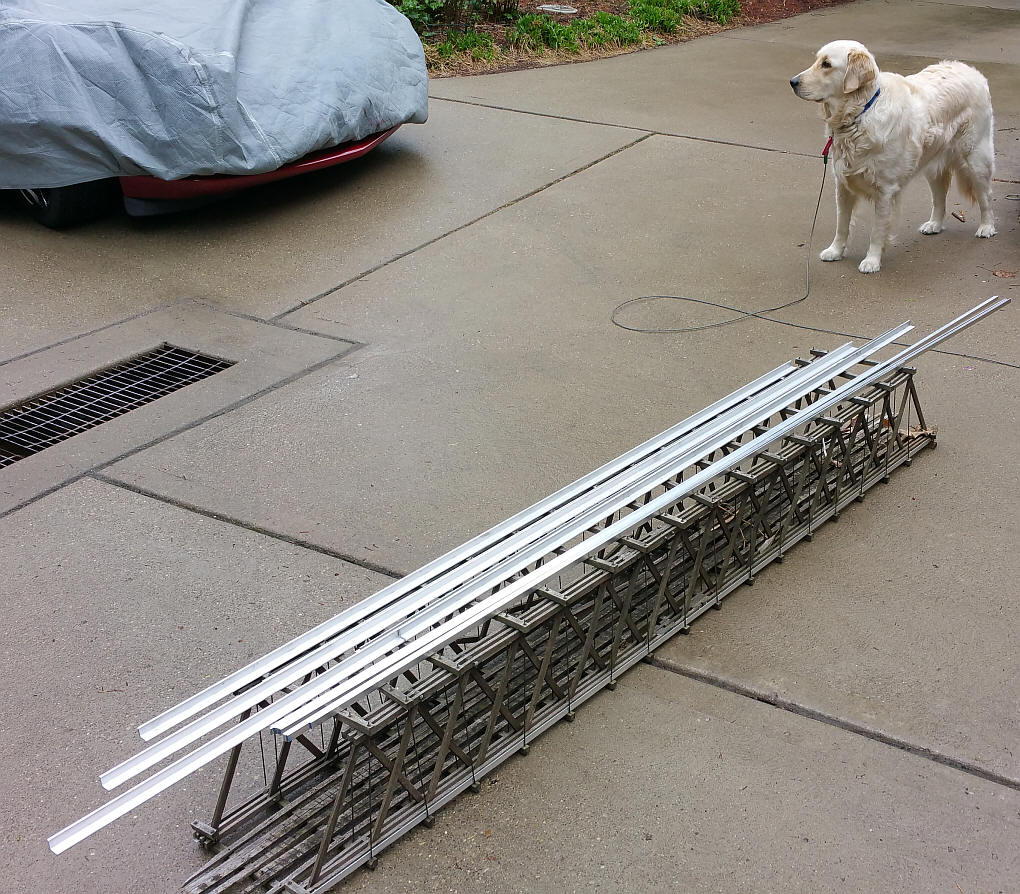
One of my purchases is shown here:
|
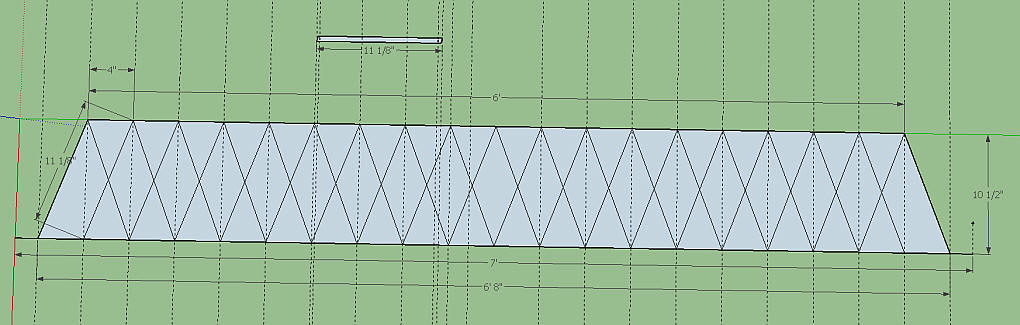
| The first step was to do a rough design in
SketchUp.
 |
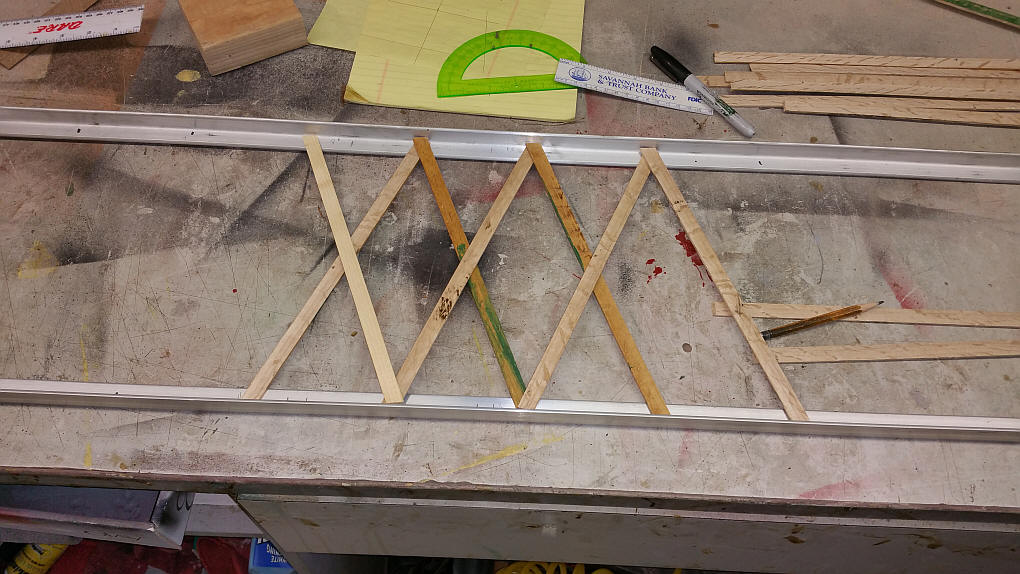
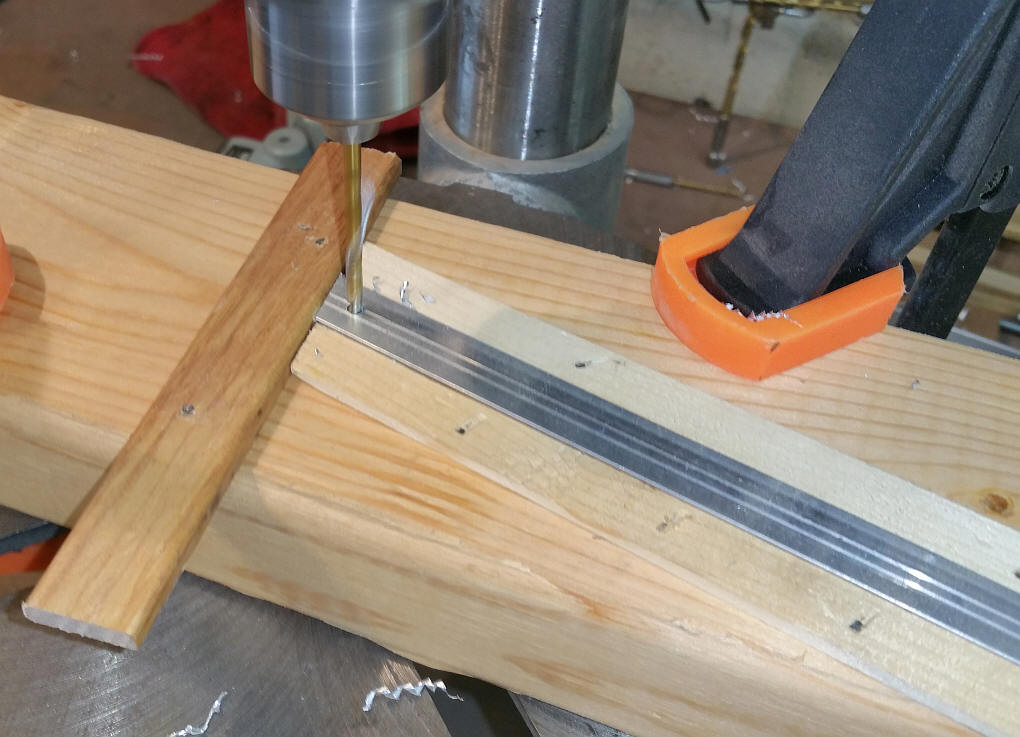
| Wood struts were used for initial
placement / size experiments. Note that the ends are cut at an
angle. We wound up drilling the upper and lower angle at 5"
intervals.
 |
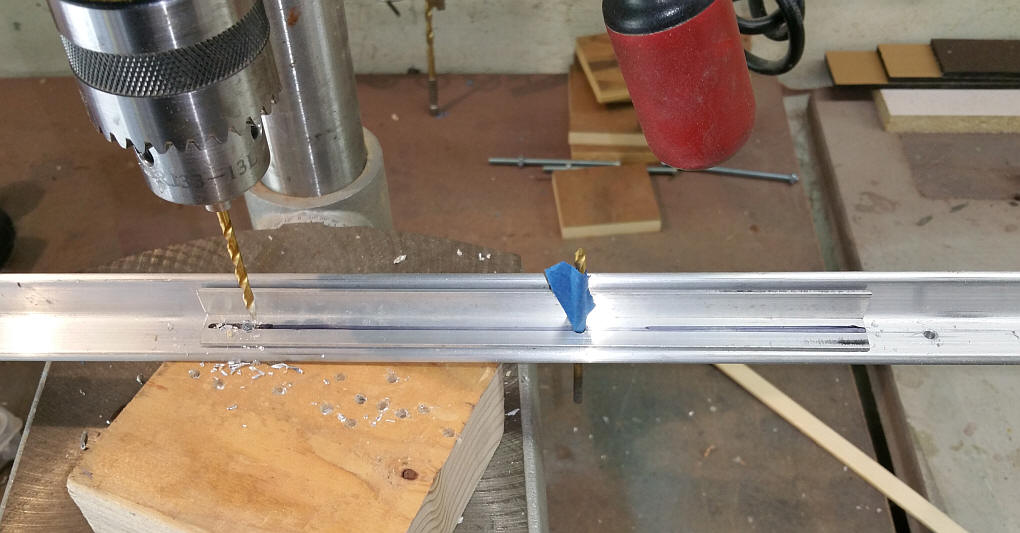
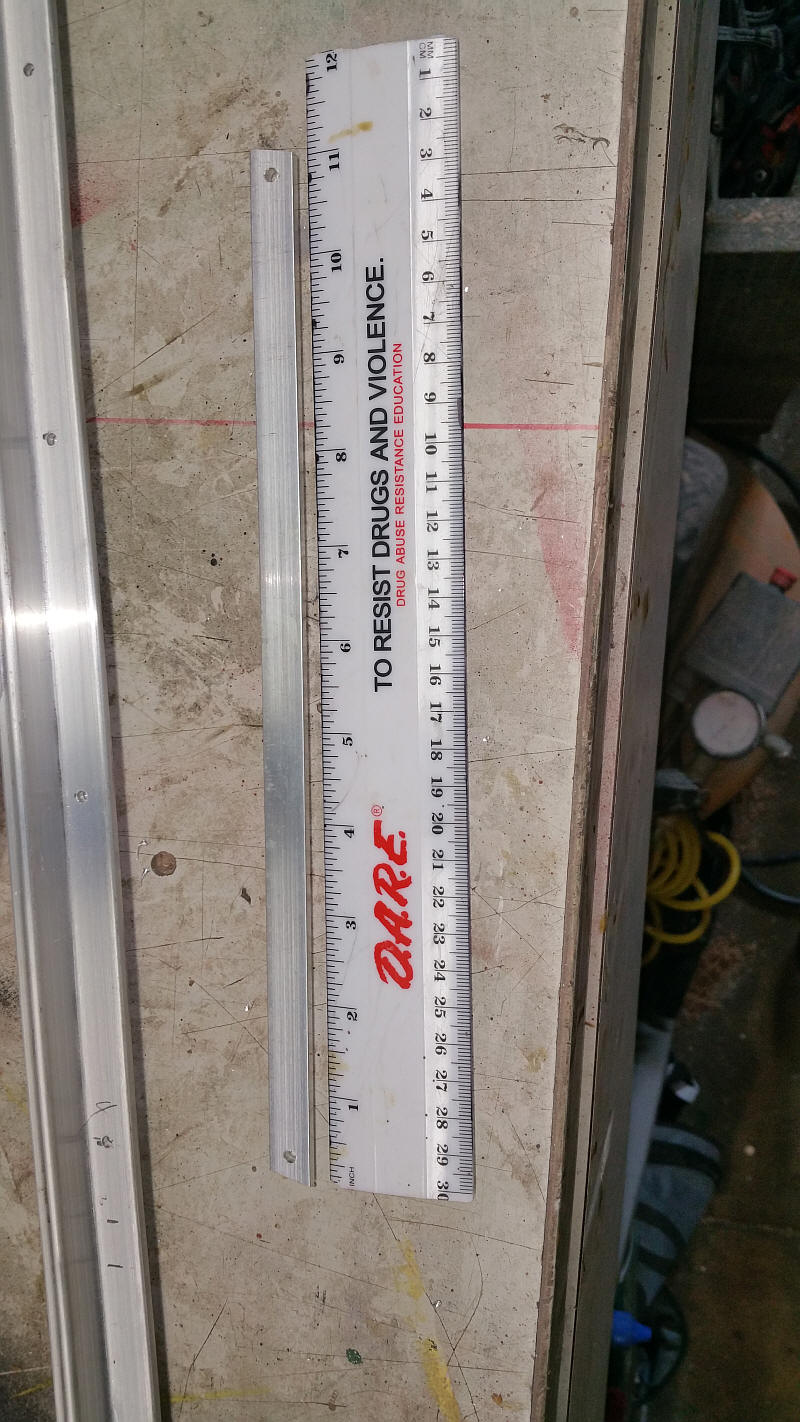
| A simple measuring jig was made of a
smaller piece of angle drilled with two 1/8" holes that were 5"
apart. Once one hole was drilled a spare 1/8" bit (with
the blue tape) was pushed into the index hole to locate the next
position for drilling.
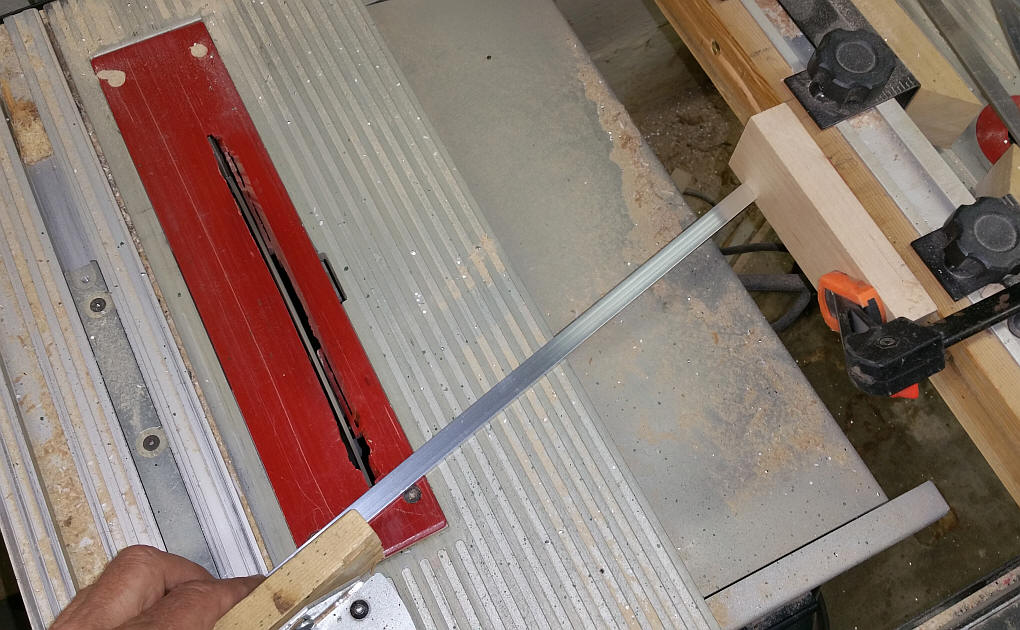
The diagonal braces were cut on my table
saw using an 80 tooth carbide bit. Worked like a charm.
The rip fence and cross cut guide were set up as shown here.
Each end of the diagonal pieces was drilled
using the jig shown here which was clamped to the table of a drill
press.
|
| The first side was completed in less than
3 hours with a friend's help. Not bad! I tried to bend
the finished structure and found that it would not flex at all under
my weight. Although I didn't try I believe it would support
100 or more pounds. For the time
being the bridge girders are bolted together with 3/4" bolts & nuts
- after all is complete they may be replaced with aluminum pop
rivets.
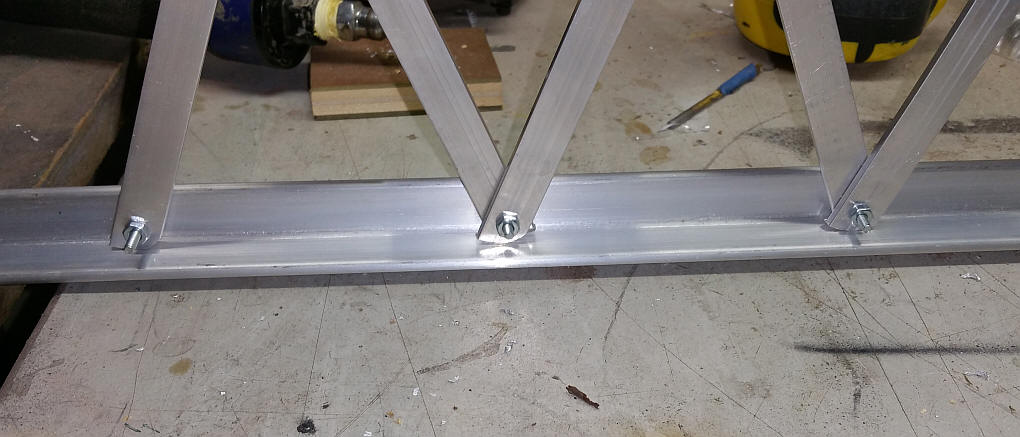
The cross braces are circled in yellow.
They, along with the two other pieces of angle, will make up the
other side of the bridge.

|
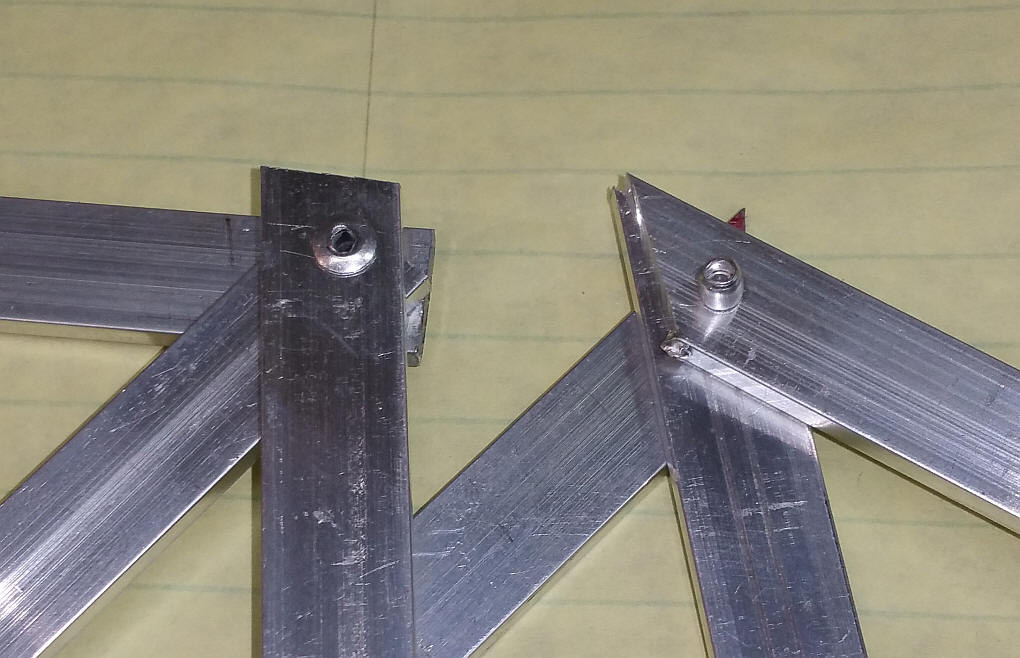
| A detailed view of the cross members - I
found I had to round the ends a bit with my belt sander to get them
to fit well.
The rounding can be seen in this close-up
view of the inside of one of the main beams.
|
| I did some experimenting with side-to-side
structure using scraps of wood. The three groups shown here
are one possibility. This will leave a nice set of openings
should something derail on the bridge.
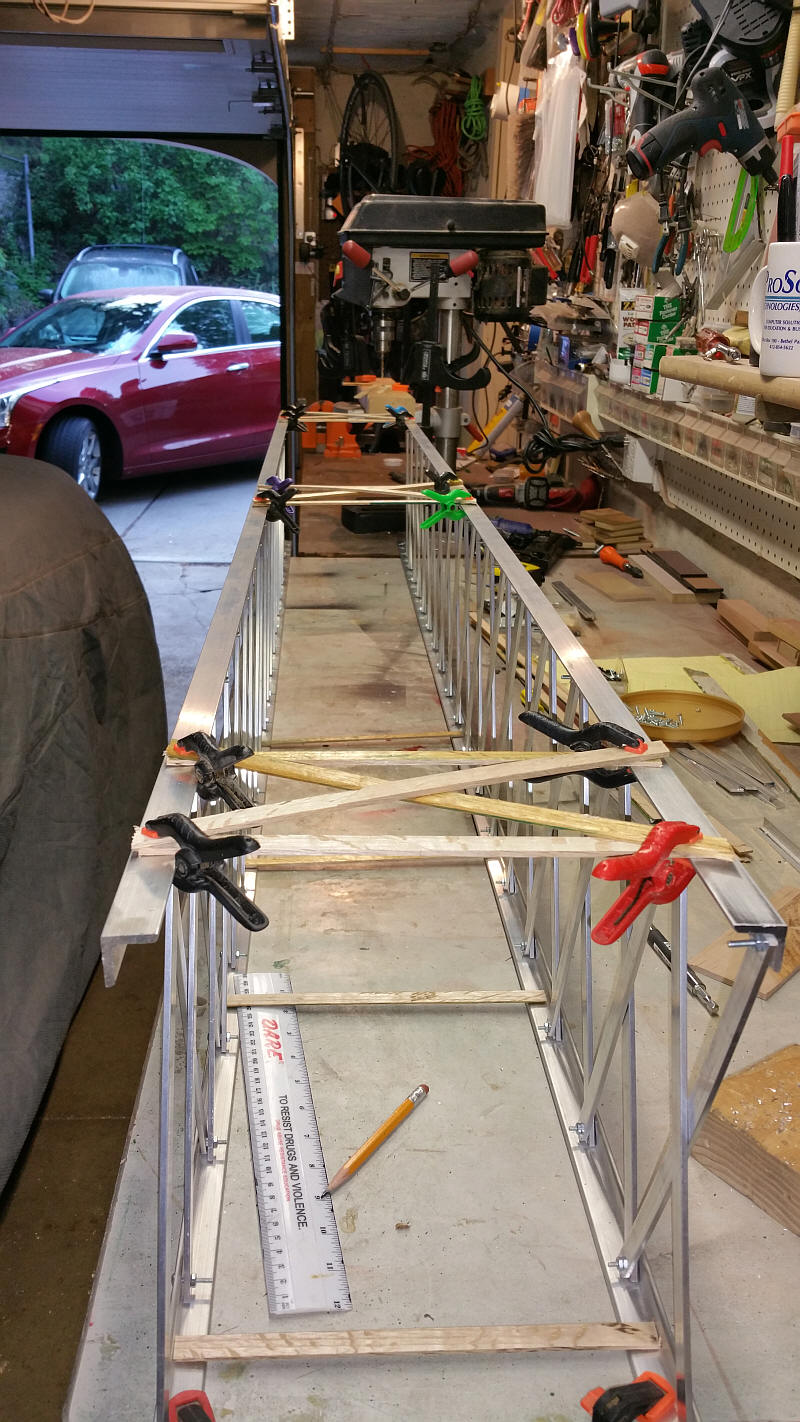
I may use some of the wood that I can
salvage from the old bridge for the deck. |
| Just about done! I still
have to add some cross members to the bottom and there is that minor
detail of disassembling, priming and painting to be dealt with!
Shortly after this was taken I sat on the
center of the bridge and it didn't budge so we know it will support
a bit over 200 pounds. The bridge itself weighs in at 12
pounds. Total cost for the aluminum was about $140 plus a box
of screws. Still need to get pop rivets, primer and paint.
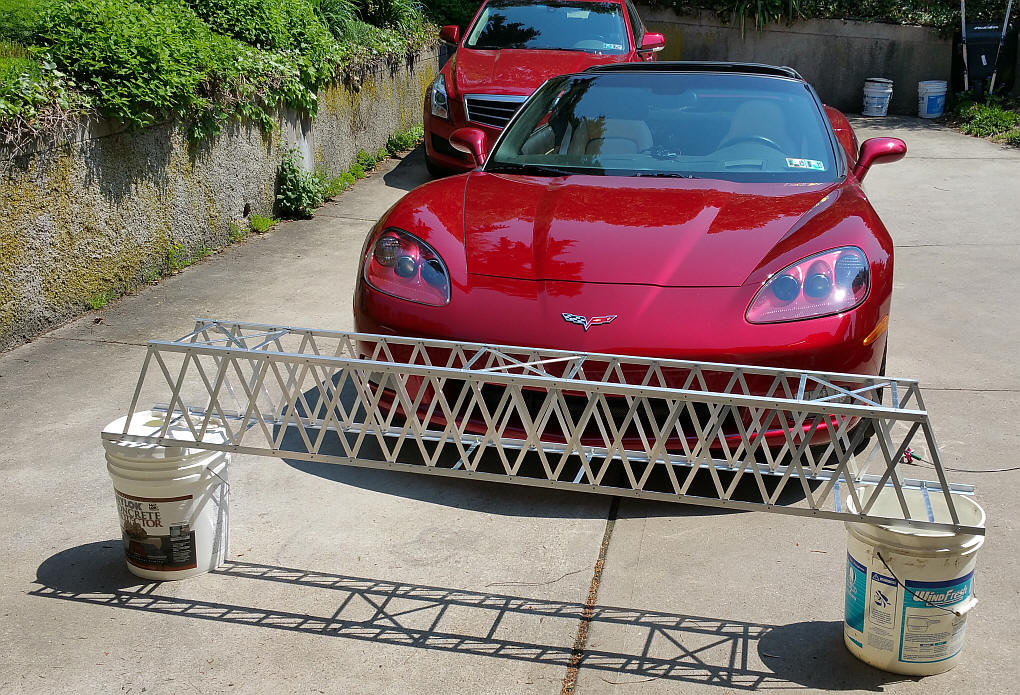
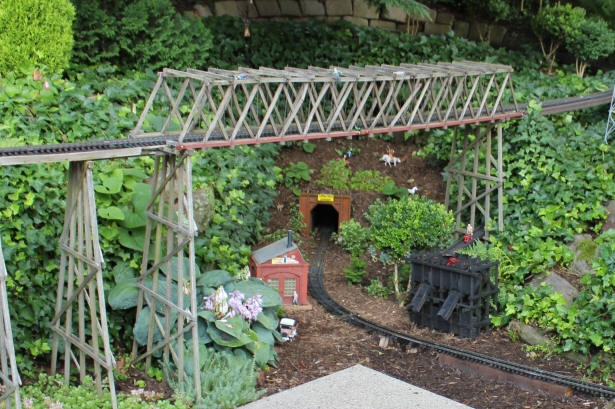
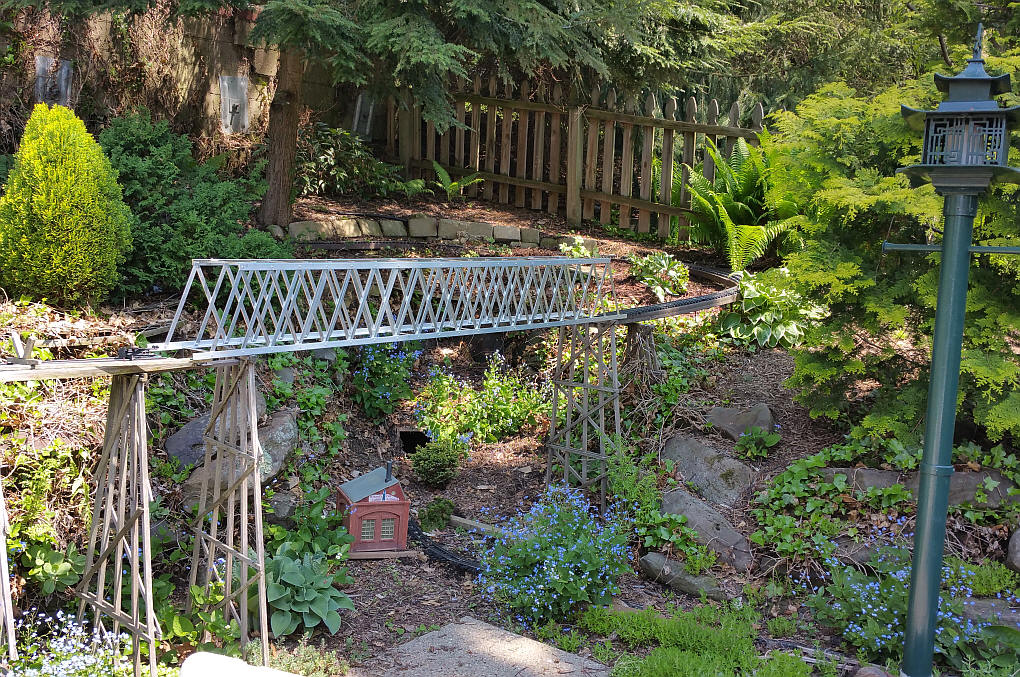
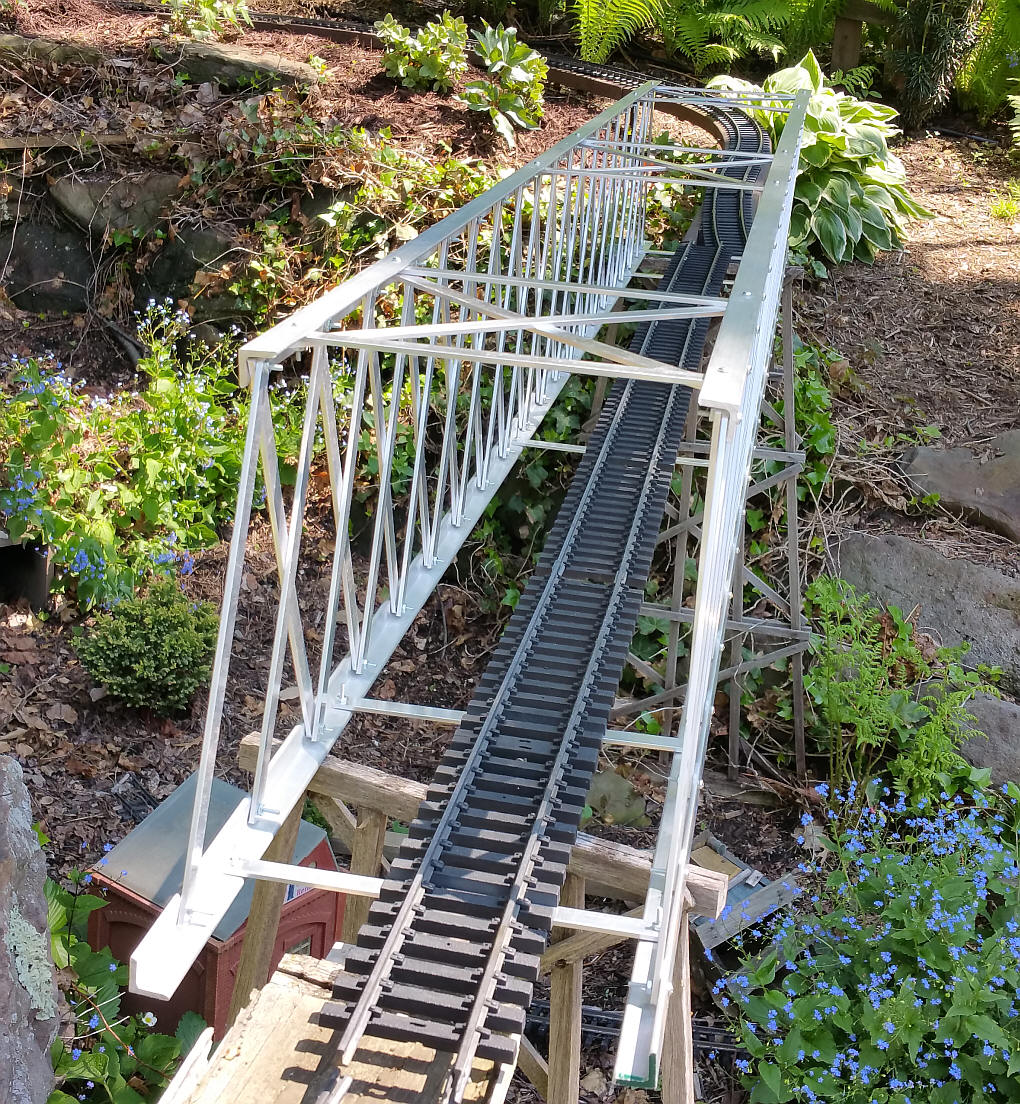
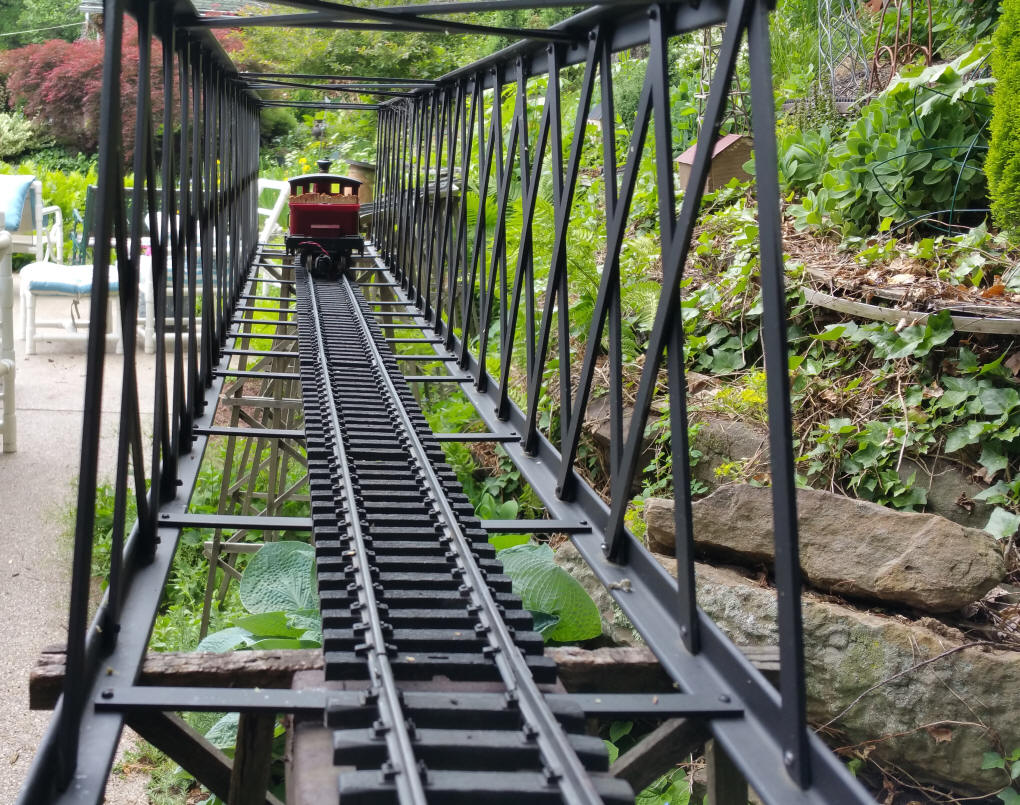
Here the bridge is temporarily placed where
it will go.
|
| As you can see lots of cross beams need to
be added to the bottom.
 |
| Pop rivet test - the photo shows both
sides of a joint with 1/8" x 1/2" pop rivets - very tight joint!
Here are all 99 pieces after being cleaned,
roughed up and coated with the first coat of primer.
Just about done!
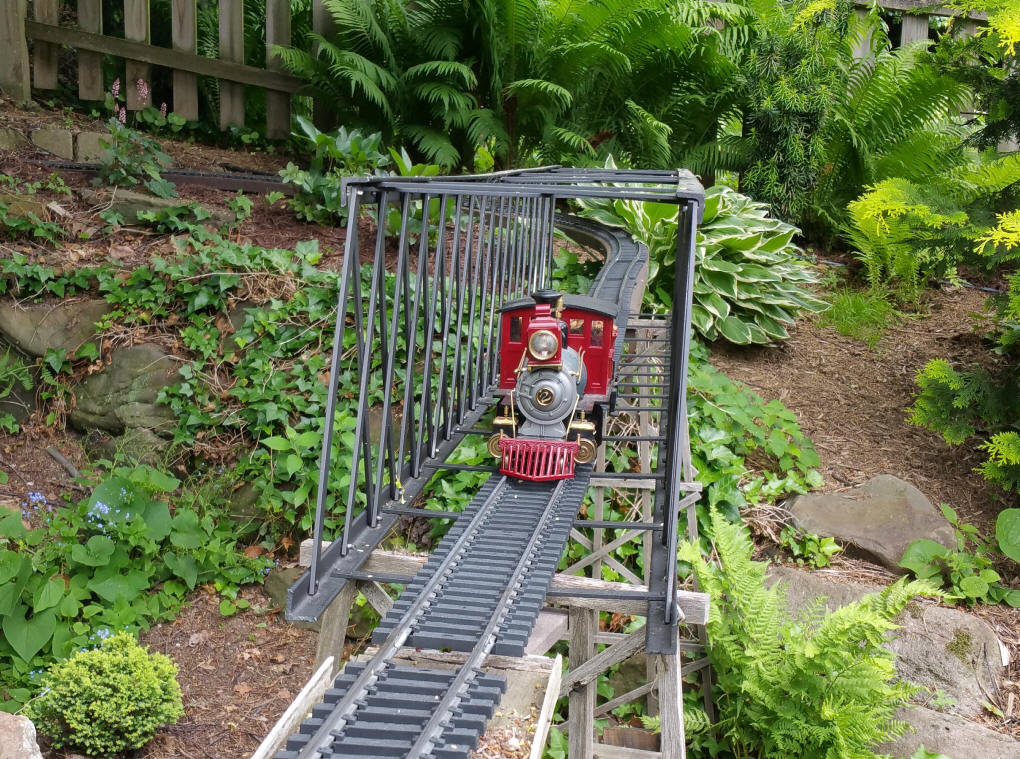 |