Alexa Controlled Finger
Pushes Buttons
Without Programming
d. bodnar 01-01-2020
| I have a laser cutter that sits 20 or so
feet away from my desk. In order to start a job on it I send
the design to it from my main computer and walk over to the laser
cutter where I have to press a button to start the cutting or
engraving. While this is a good safety precaution that requires you to physically be at the machine to start it there are times when I am 100% sure that the setup is A-OK and that starting it from my desk would be safe. In order to give me that option I decided to design and build a mechanized "finger" that could be instructed to press the button without my getting up and going to the laser cutter. I considered a number of options, including using a solenoid and a wire back to the desk, a mechanical device with a cable linkage to the desk and a few others. Since I already had the laser cutter set up to be turned on and off via an Alexa command I decided to build something that could press the button after a voiced command like "Alexa Turn on Button". I have done similar things in the past. The most recent was an Alexa device that pressed a button on a sleeping laptop to wake it up (see: http://www.trainelectronics.com/ESP8266/AlexaServo/index.htm ) While this unit could have been modified to operate the laser cutter I have run into some issues getting the Arduino code to work with the ESP8266 family of devices. I looked through the parts that I had on hand and realized that I had an Alexa controlled relay that was simple to set up and a servo tester that can easily be modified to move the "finger". This controller was the subject of an article I wrote a while ago that had a servo move the points on a model railroad switch (also called a turn out) - see: http://www.trainelectronics.com/Servo-simple-controller/ My thought was to combine both of these boards with a small servo and have that unit press the button for me. As an added benefit no Arduino or other microcontroller is needed and no programming of said devices is necessary. I have also kept the soldering to a minimum.
|
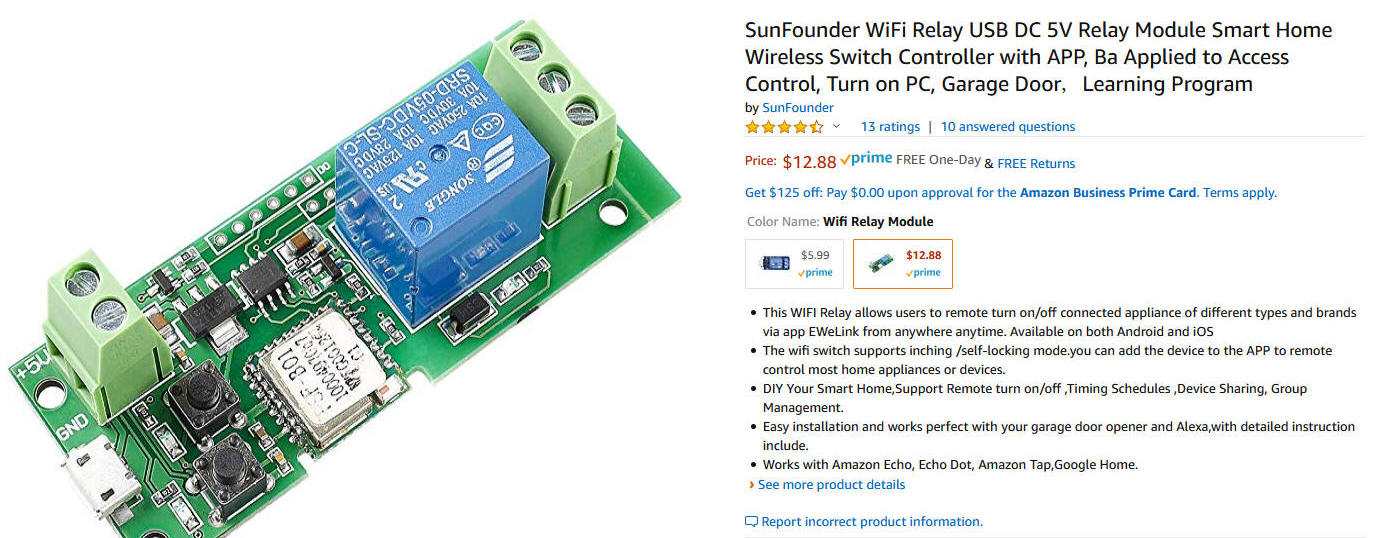
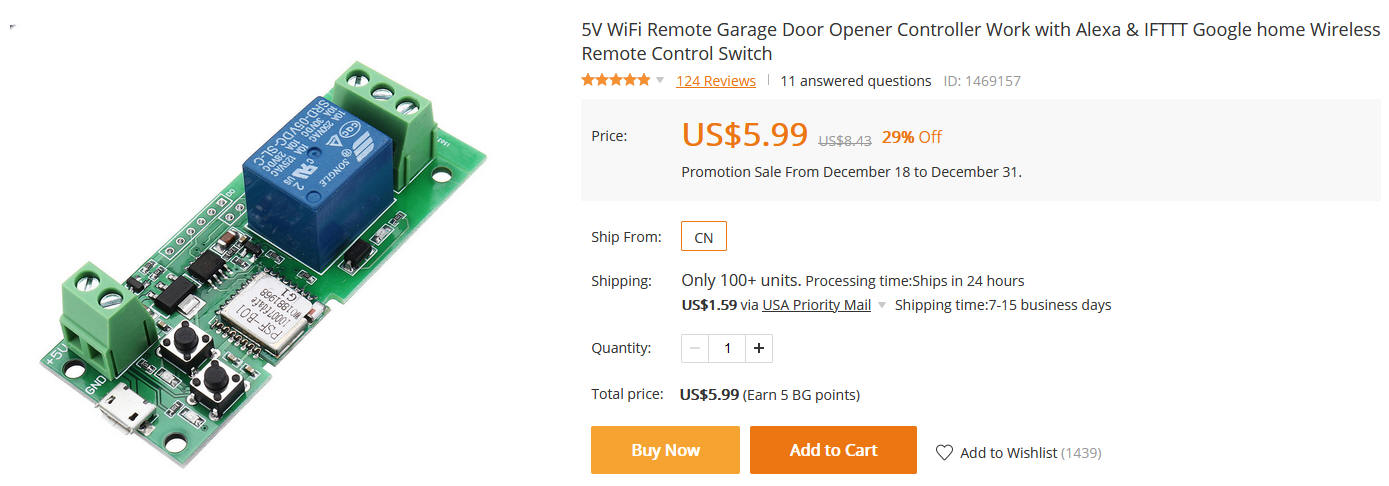
| Hardware The Alexa controlled relay is available from Amazon and Banggood. As you can see the Banggood option can be 1/2 the price! Amazon:
Banggood:
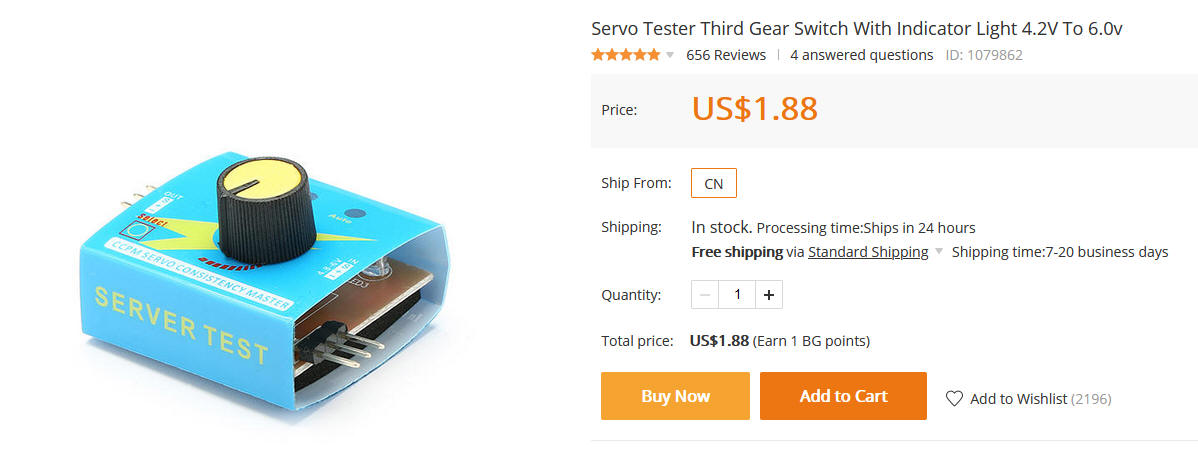
The servo is operated by a simple and inexpensive Servo Tester that is also available from Amazon and Banggood. Amazon - price is for three:
Banggood:
They are also available on eBay for an even lower price! Note that a smaller version of this servo tester is also available. I have tried both with similar results.
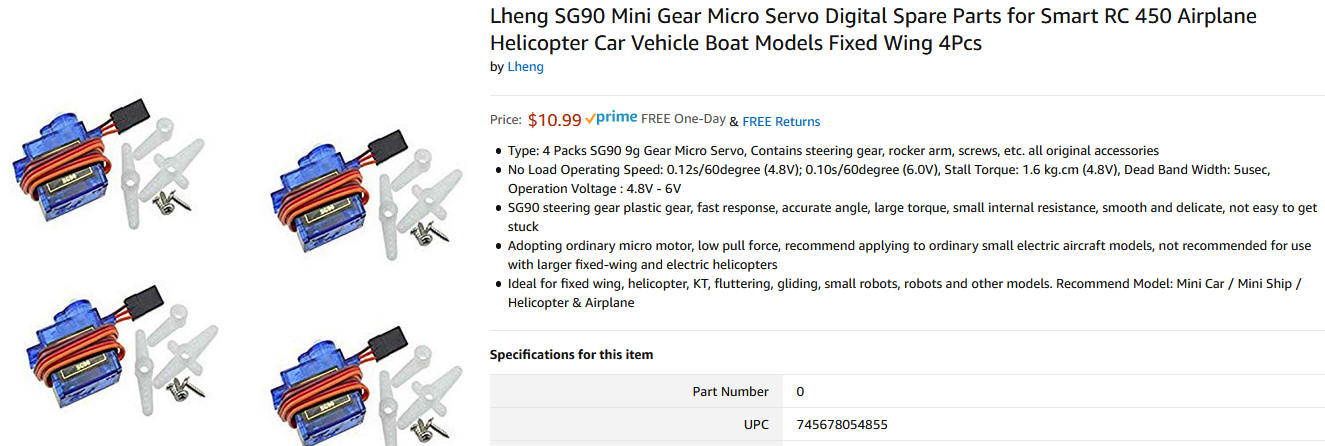
Any standard servo should work with the
tester. I used micro servos like this offering from
Amazon for my initial testing.
For my laser cutter I needed more torque on the finger that presses the button so I used a standard sized servo like this one from Amazon. The price is for 4 servos.
|
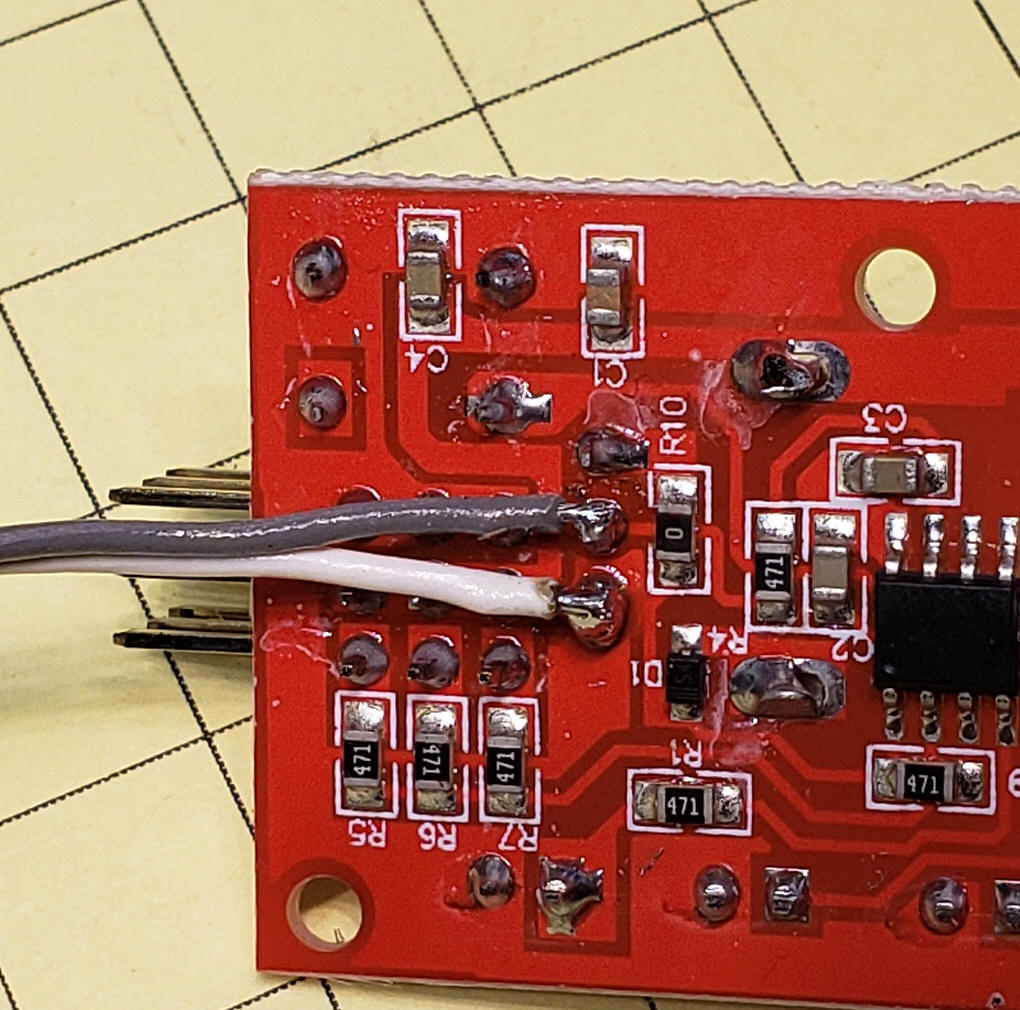
| Modifying the Servo Tester The servo tester needs a minor modification that involves soldering two wires to the potentiometer contacts. This photo shows the bottom of the circuit board on the larger servo tester
The grey wire goes to the center terminal for the potentiometer and the white wire to the one below it. Please be careful not to allow solder or wire to hit any other terminal on the board. The wire attachment is very similar on the smaller servo tester board.
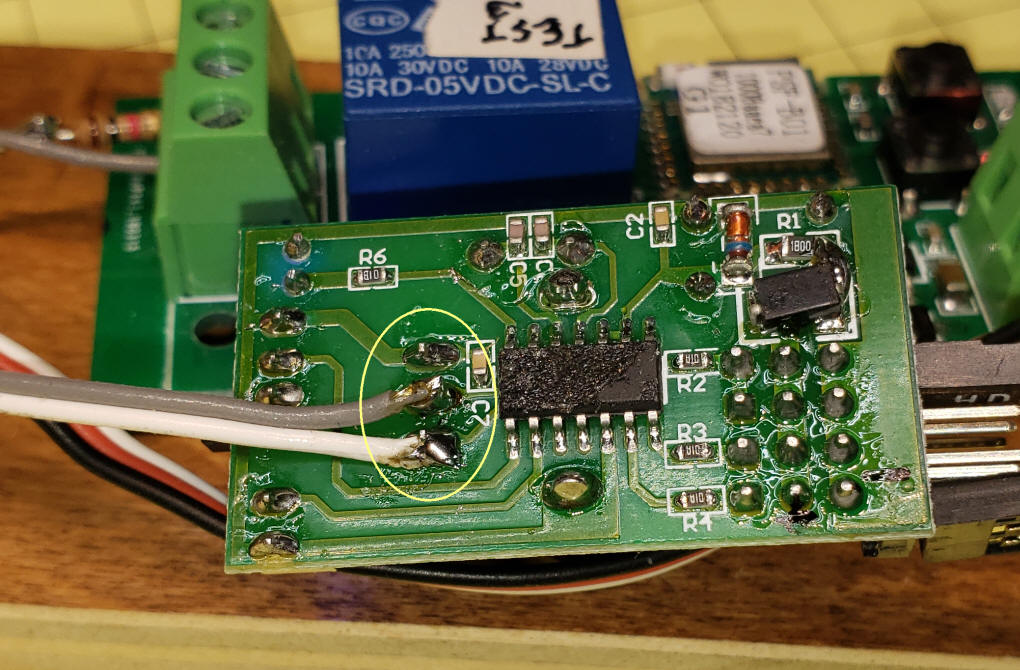
If you prefer you can solder these wires to the top of the board as shown here. Again, be careful to connect only to these two contacts and make sure there are no solder bridges.
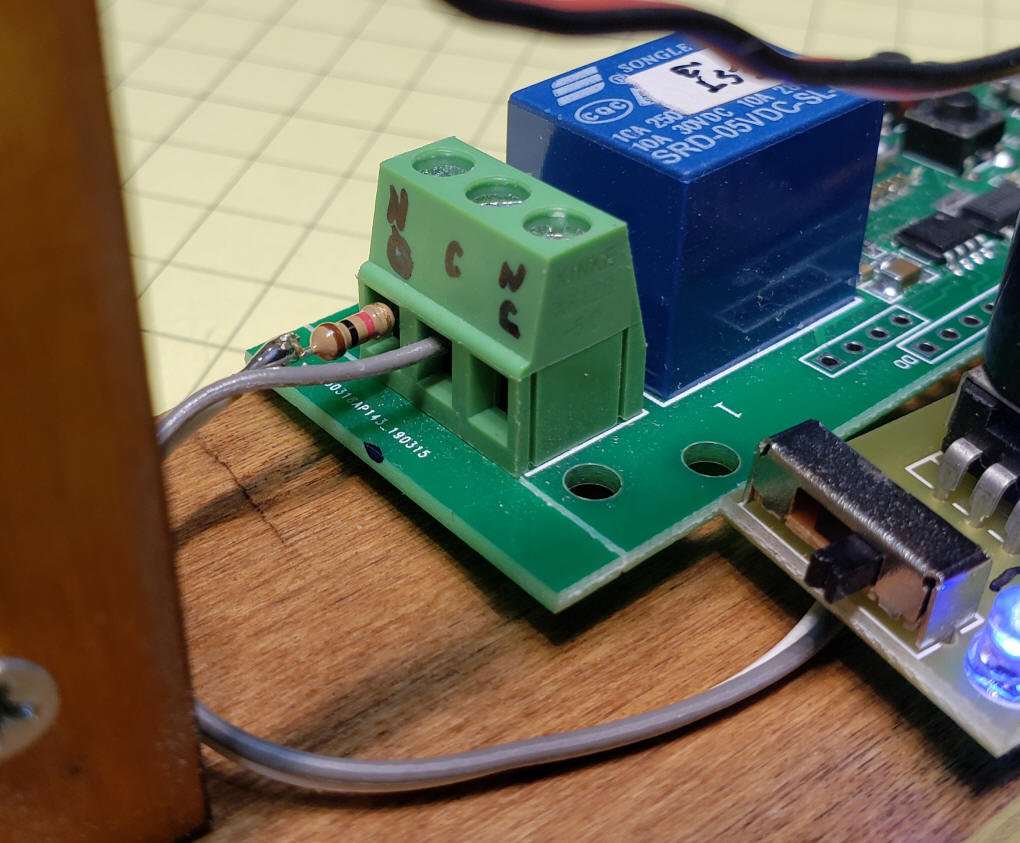
These wires go to the NO (normally open) and Common terminals on the relay boards relay contacts. A 1000 ohm resistor is wired in series with one of these connections. I just soldered the resistor onto the end of the white wire as shown here:
|
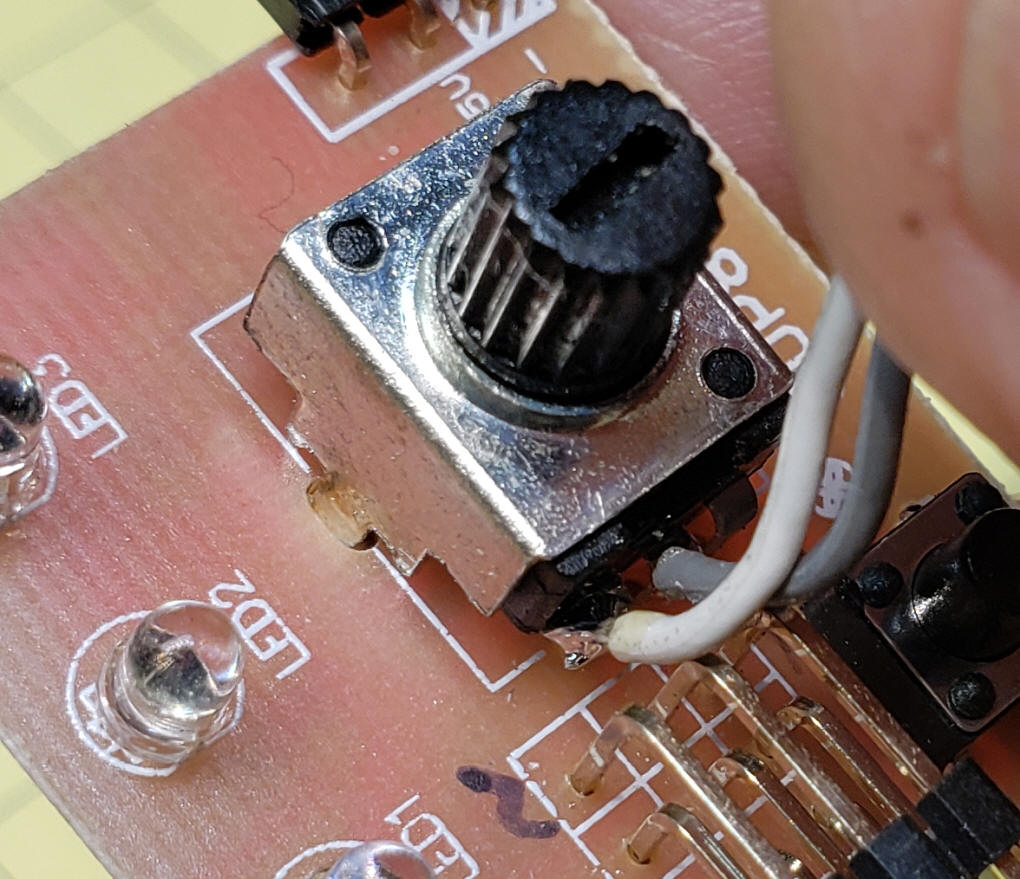
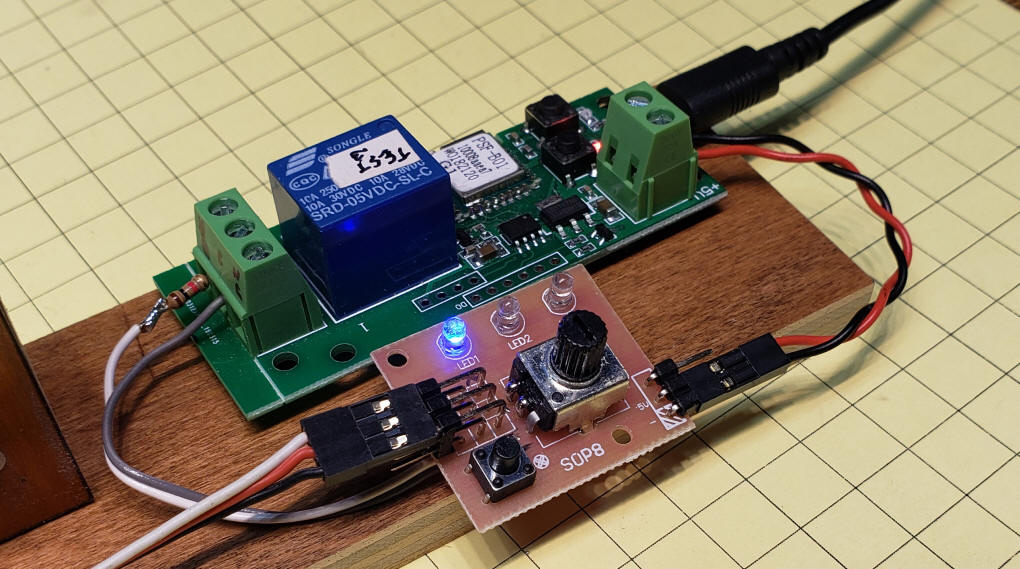
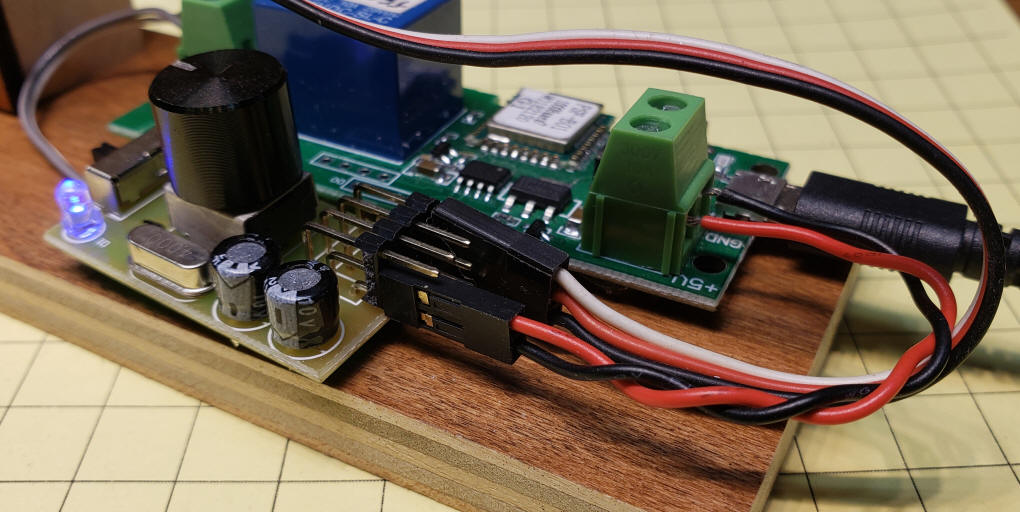
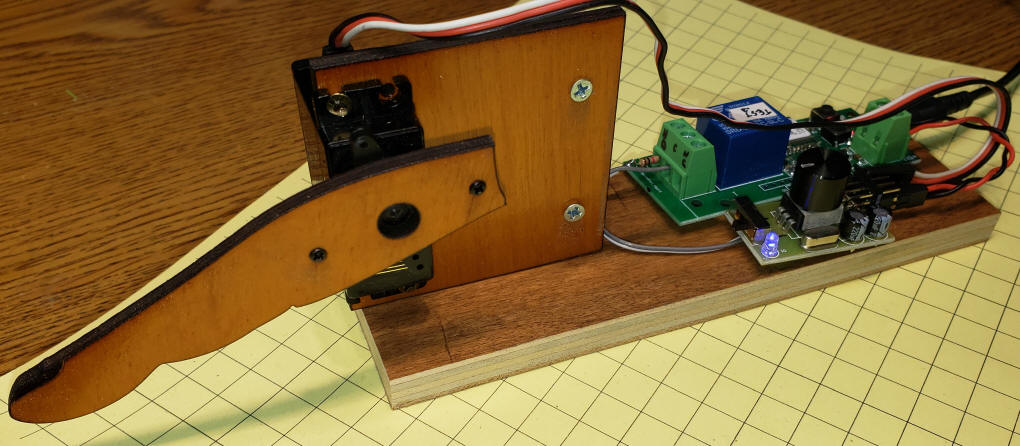
| Wiring The wiring couldn't be simpler. Power is applied to the relay board with a micro-USB power adapter. Most of us have an array of these from old cell phones and similar devices. If you need to purchase one make sure it is rated at 5 volts and 1 or more amps. This link is from Amazon. The power that goes to the relay board's micro-USB socket also shows up on the two terminal connector next to it. Here power can be accessed and wired to the servo tester. This can be done by soldering wires to the servo tester or by using Dupont connectors like these. The servo plugs into the tester following the labels on the tester's plastic cover. The unit shown here is the larger tester with the case removed. Make sure that "LED1" is lit. If it is not just press the small button on the board to light it.
Be sure to use the Normally Open and Common terminals.
Here is a close-up of the smaller servo tester's wiring. Note that the switch on the far end of the board needs to be in position closest to the LED.
|
| Relay Introduction to Alexa The small manual that comes with the relay board gives directions for setting up the device and connecting it to WiFi. Here are some brief notes that show how I did this
|
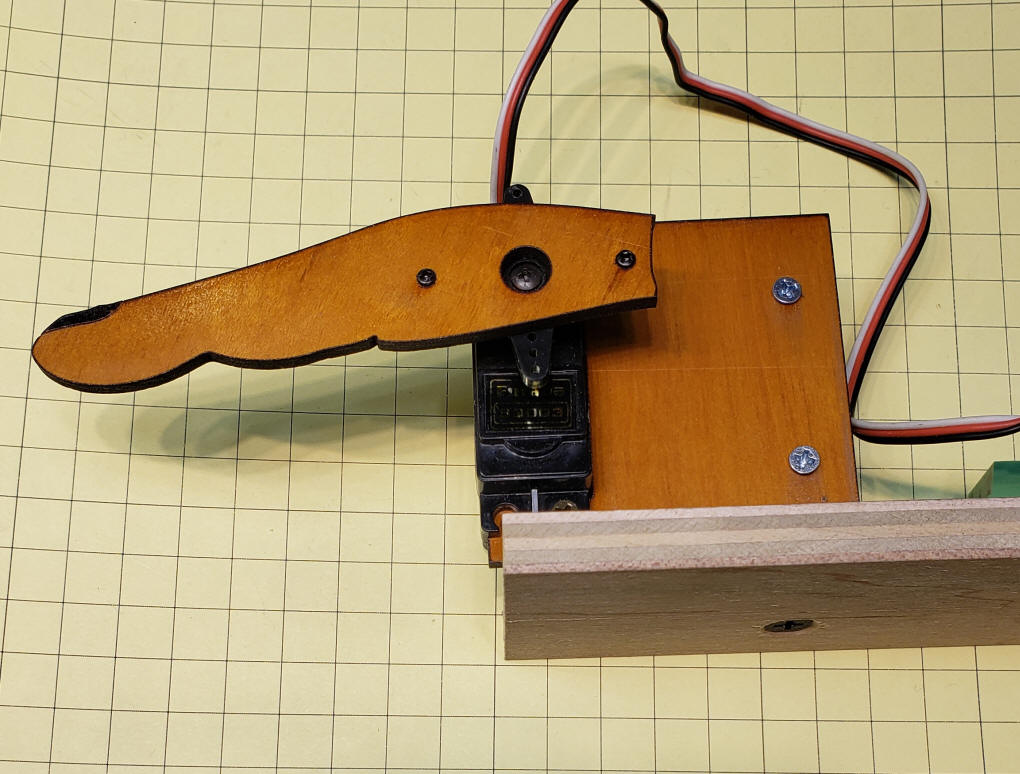
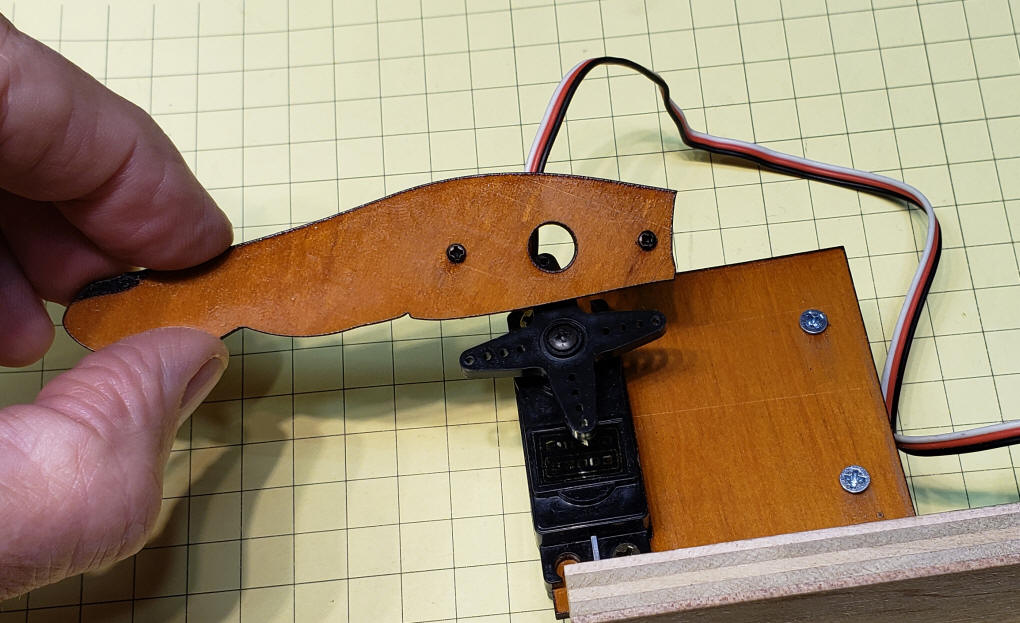
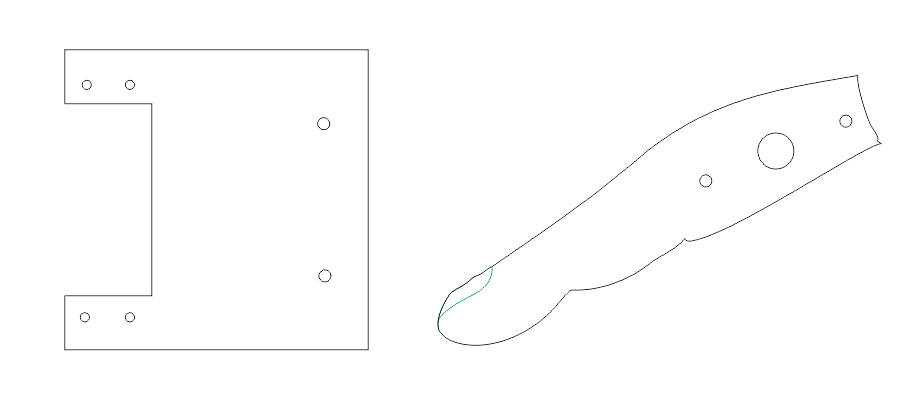
| Mounting the Finger The laser cut finger mounts to the horn on the servo with two small screws.
The large hole in the center allows you to remove and reposition the horn's position.
The finger and mount are linked here as a PDF file and here as a CorelDraw file.
|
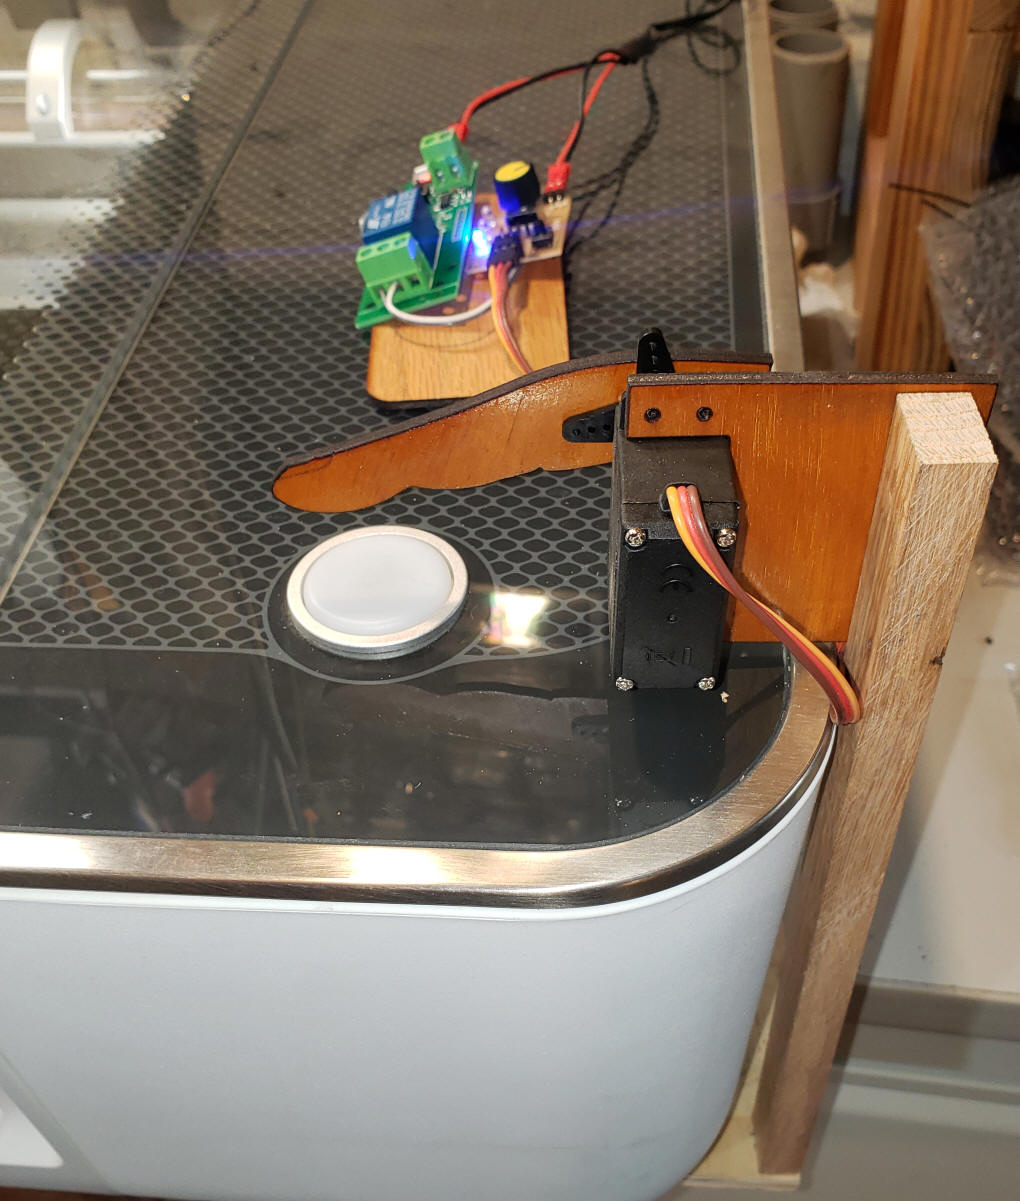
| Adjustments To adjust the finger I aligned it just above the button on the laser cutter and rotated the potentiometer on the servo tester so that it was about one inch above the button. You can test the positioning by either saying "Alexa turn on button" or by pressing the "match button / manual switch" by the LED on the relay board. If the finger goes too far into the switch or not far enough you can readjust the pot. If the finger still goes too far you can increase the value of the 1000 ohm resistor to shorten how far the servo rotates. I have used 2000 and 4700 ohm resistors as well as the 1000 ohm ones. This photo shows the prototype unit installed on the GlowForge Laser Cutter / Engraver. The long post on the right connects to the table that the GlowForge sits on affording a sturdy support.
|
| While my goal is to have the "finger" press a button you could easily modify this project to do other things. Use your imagination and have fun with it! |